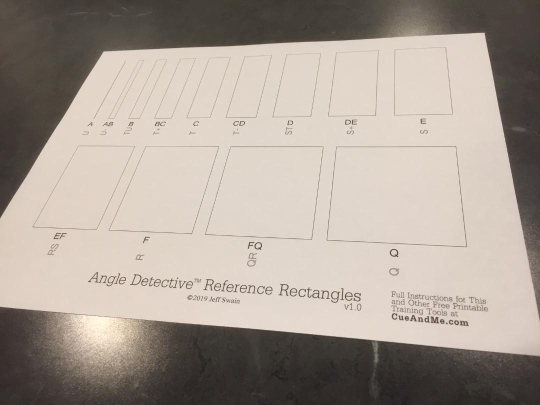
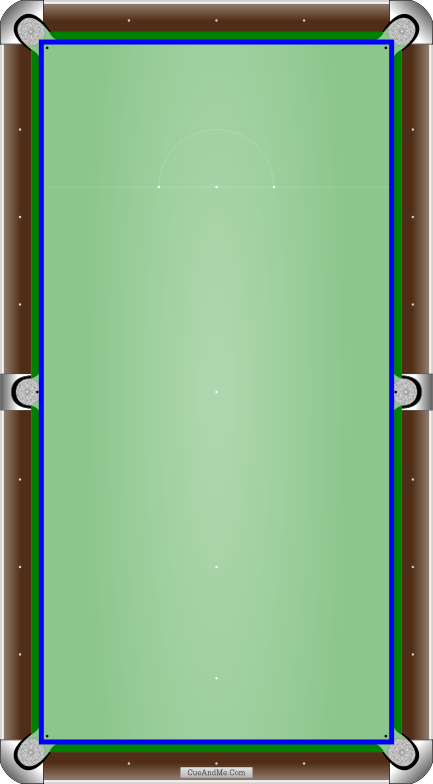
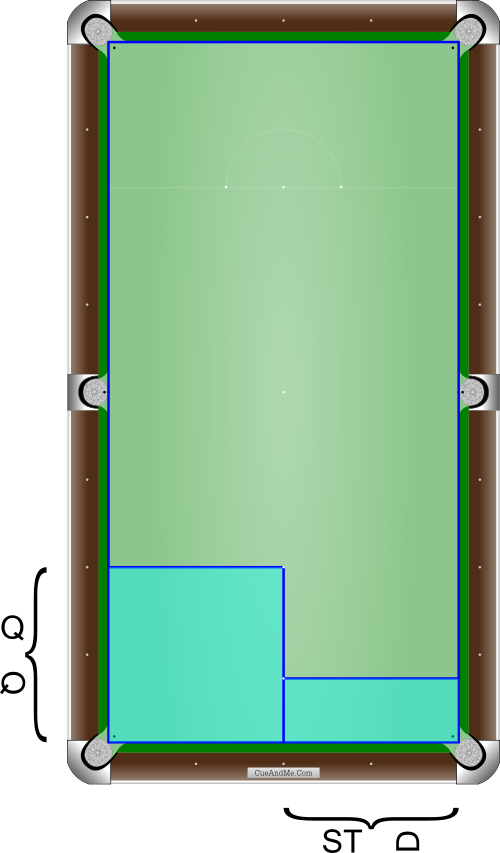
The cushion tips of a pool or snooker table define the edges of a large ‘E’ or ‘S’ reference rectangle, since the width is half its length.
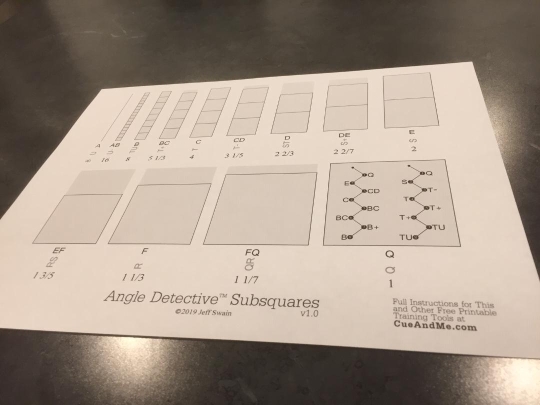
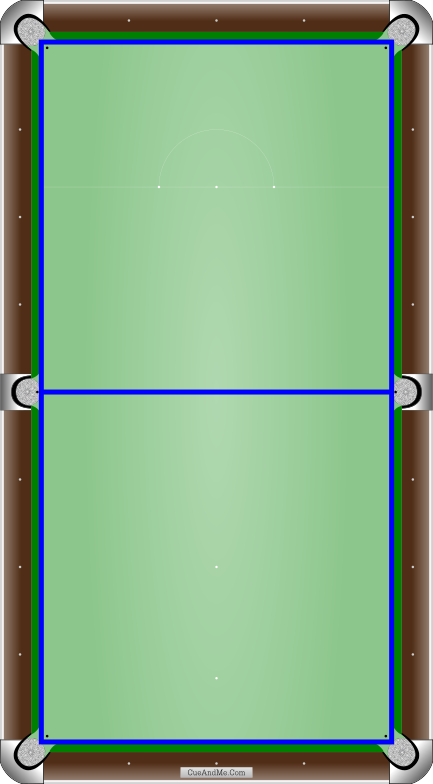
Dividing the playing surface with a line through the middle pockets reveals two half-table ‘Q’ squares.
Dividing the full width of the playing surface by 4 reveals the ‘B’, ‘C’ and ‘D’ reference rectangles when viewed from the head or foot of the table and ‘TU’, ‘T’ and ‘ST’ when viewed from the side of the table. On a pool table you can use the three diamonds on each short rail to help see the divisions. On a snooker table you can use the brown, blue, pink and black spots to help visualize the midline of the full width.
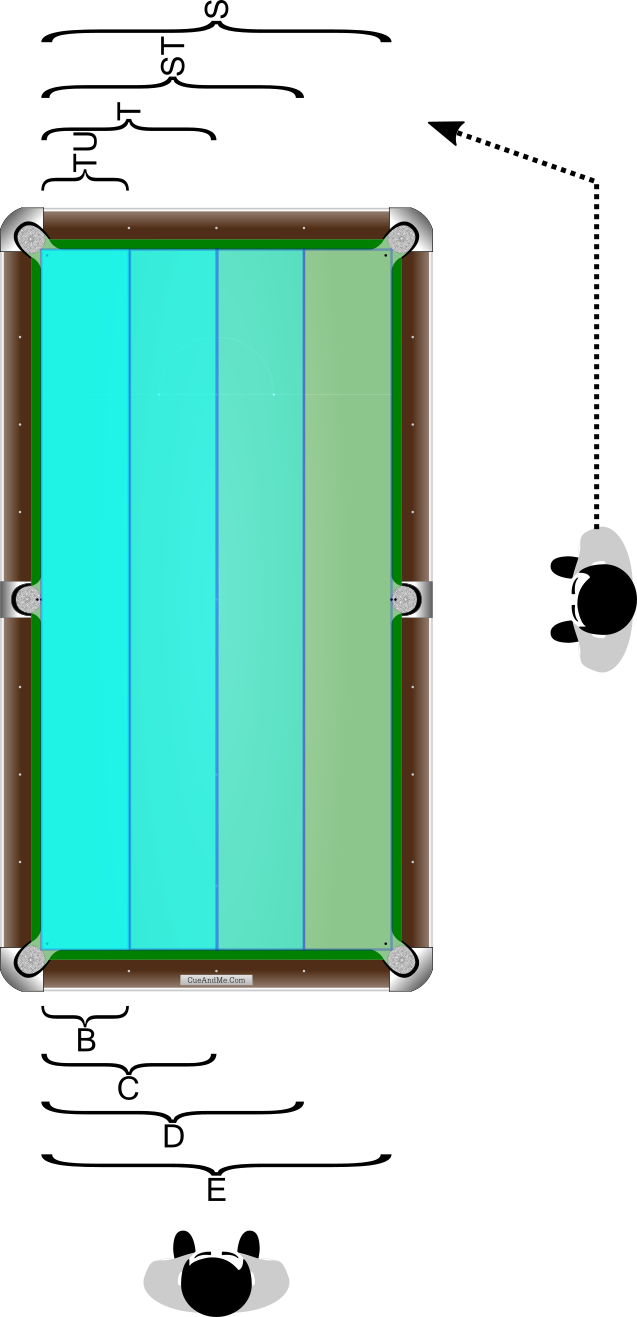
Taking those ‘B’, ‘C’, ‘D’, ‘TU’, ‘T’ and ‘ST’ reference rectangles and splitting them in half lengthwise with a line through the middle pockets reveals ‘C’, ‘E’ and ‘F’ viewed from the head or foot, or ‘T’, ‘S’ and ‘R’ viewed from the side.
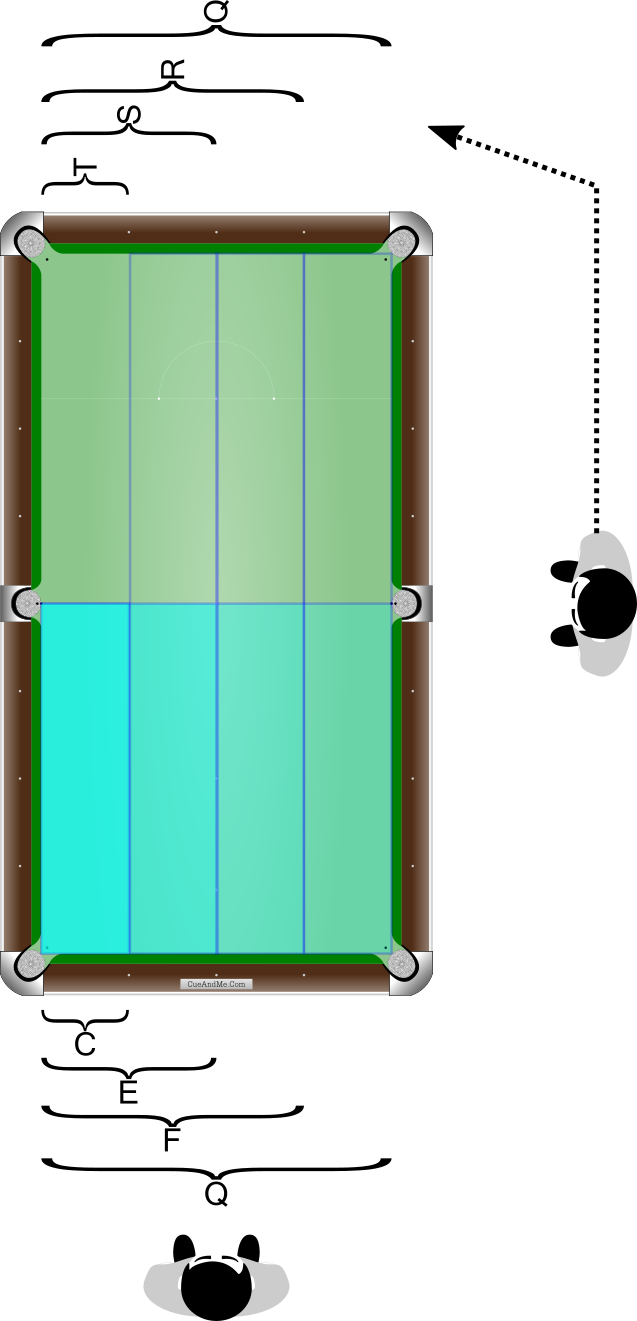
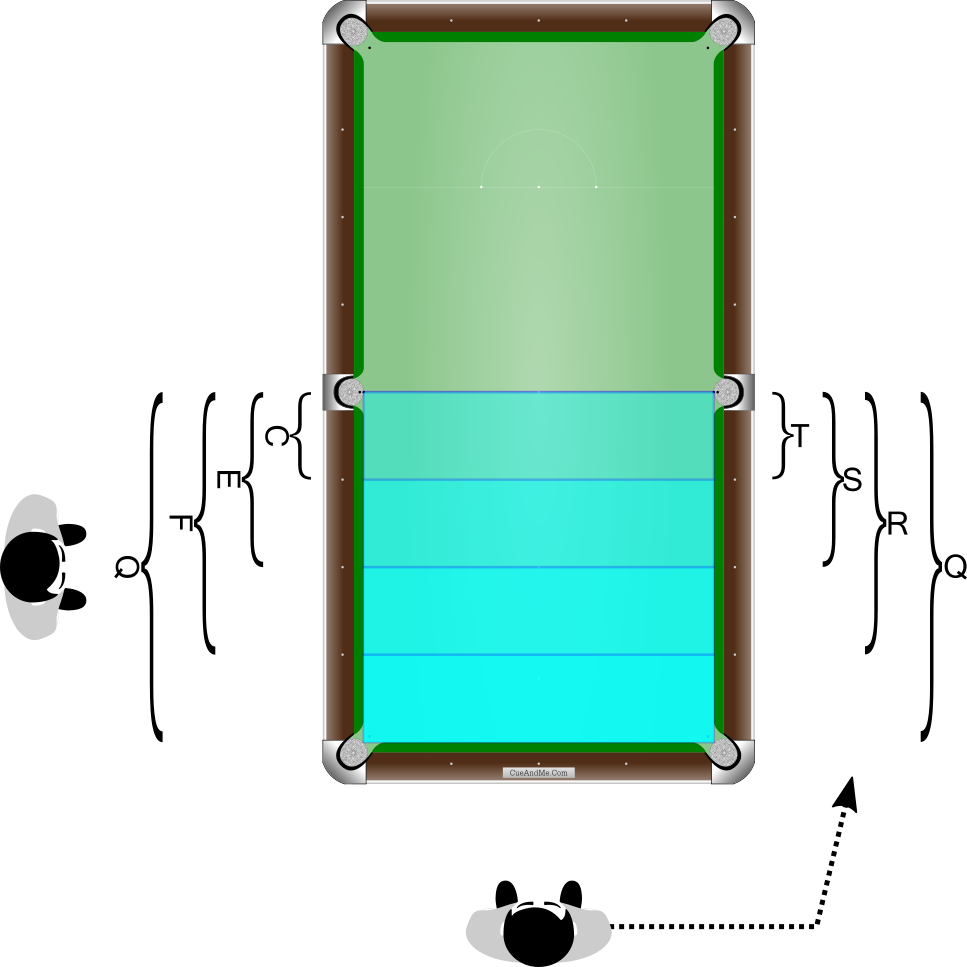
Dividing the length of either of the half-table ‘Q’ squares across rather than down reveals the same reference rectangles as above but viewed in the opposite way. We have ‘R’, ‘S’ and ‘T’ rectangles when viewed from the head or foot and ‘F’, ‘E’ and ‘C’ when viewed from the side. On a pool table you can use the three diamonds on both side rails to help see the divisions. On a snooker table you can use the pink spot to help visualize where the midline would be when viewing from the head, foot or side.
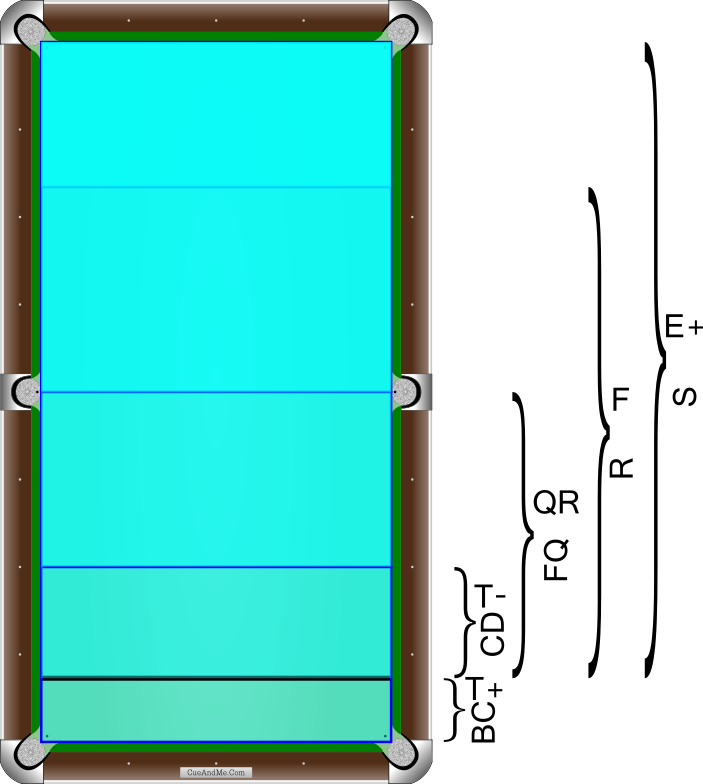
Snooker-Specific References
Dividing the table length at the baulk line and with lines across the black, pink, and blue spots gives us:
‘BC’ and ‘T+’ rectangles from foot cushion to black spot.
‘E+’ and ‘S-’ rectangles from head cushion to black spot.
‘F’ and ‘R’ rectangles from baulk line to black spot.
‘FQ’ and ‘QR’ rectangles from middle pockets to black spot.
‘CD’ and ‘T-’ rectangles from pink spot to black spot.
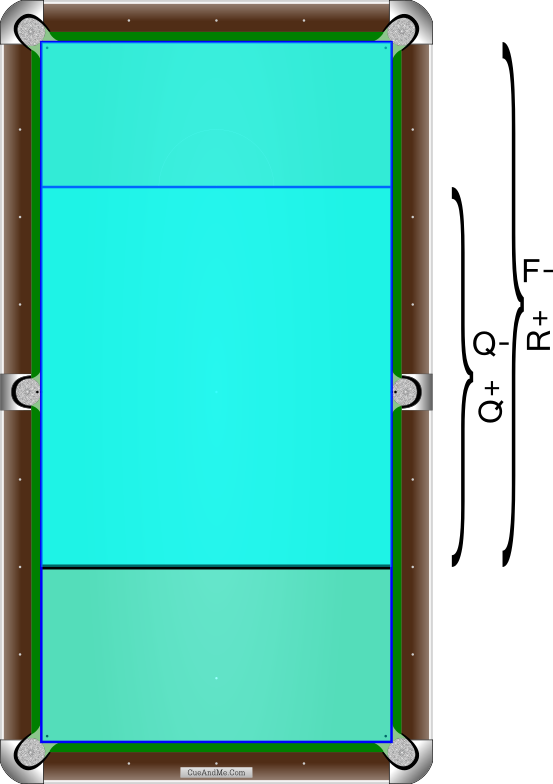
‘F-’ and ‘R+’ rectangles from head cushion to pink spot.
‘Q-’ and ‘Q+’ rectangles from baulk line to pink spot.
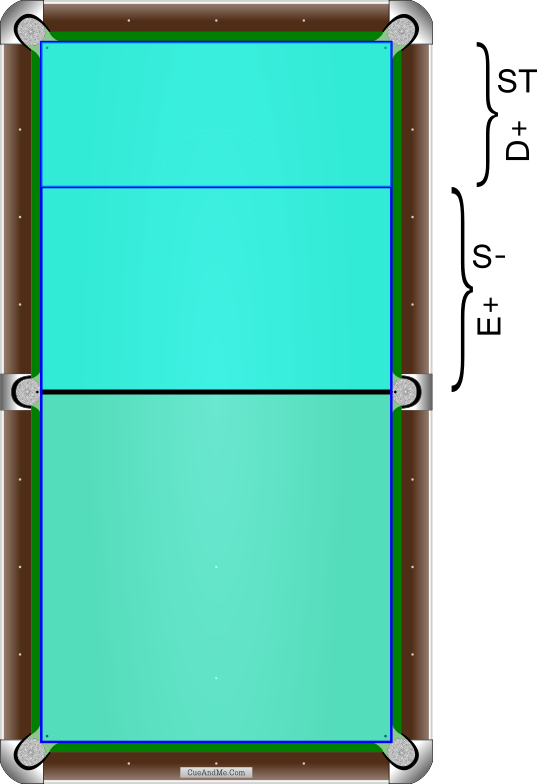
‘E+’ and ‘S-’ rectangles from middle pockets to baulk line.
‘D+’ and ‘ST’ rectangles from head cushion to baulk line.
Dividing the table width at the yellow, brown or green spots gives us:
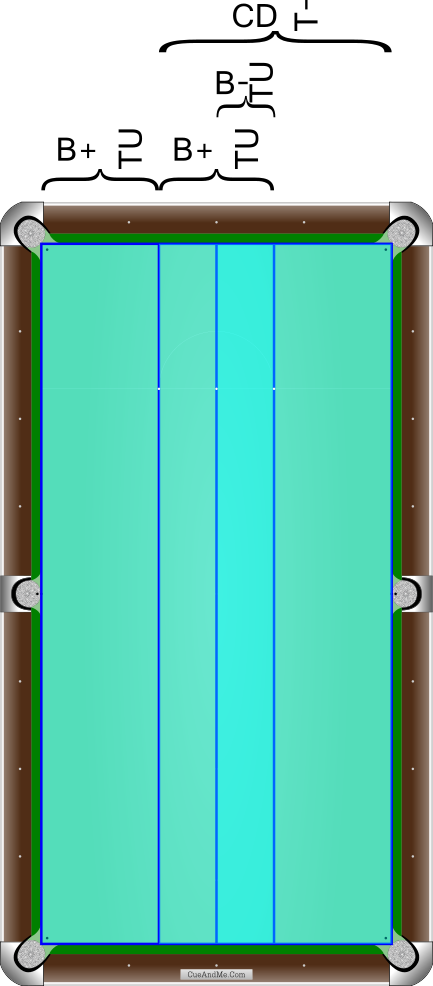
‘B+’ and ‘TU’ rectangles from yellow or green to near side cushion or from yellow to green.
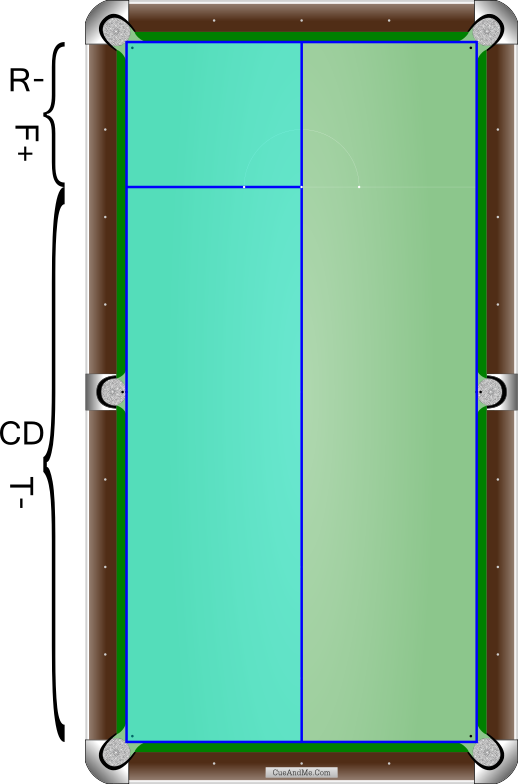
‘CD’ and ‘T-’ rectangles from yellow or green to far side cushion.
‘B-’ and ‘TU’ rectangles from brown spot to yellow or green.
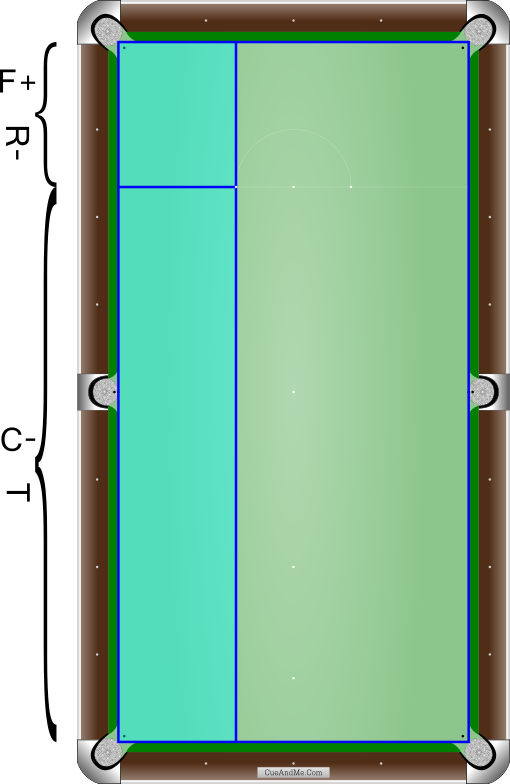
‘C-’ and ‘T’ from yellow or green spot to foot and near side cushions.
‘F+’ and ‘R-’ from yellow or green spot to head and near side cushions.
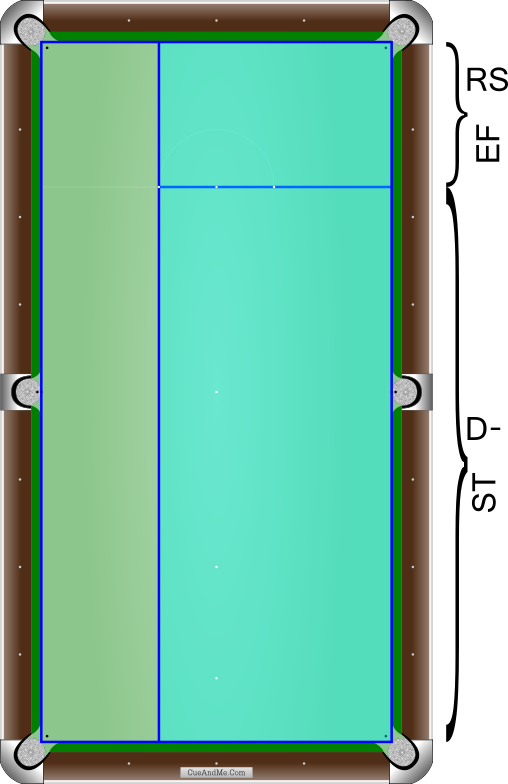
‘D-’ and ‘ST’ from yellow or green spot to foot and far side cushions.
‘EF’ and ‘RS’ from yellow or green spot to head and far side cushions.
‘CD’ and ‘T-’ from brown spot to foot and side cushions.
‘F+’ and ‘R-’ from brown spot to head and side cushions.
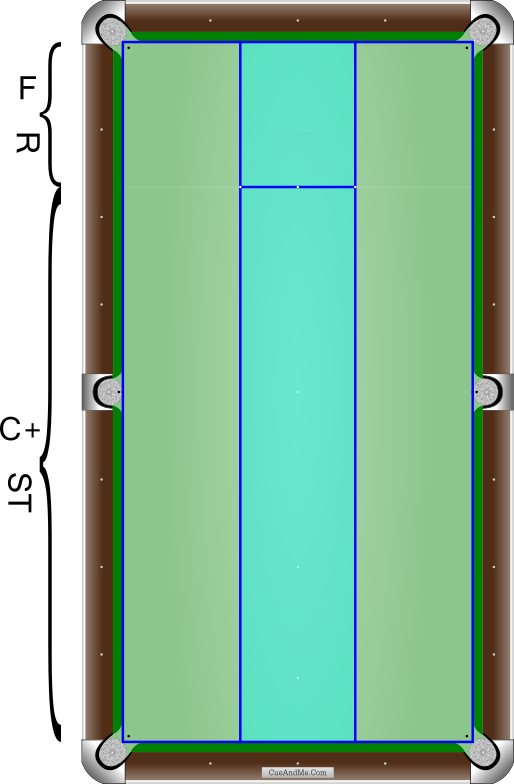
‘C+’ and ‘ST’ rectangle between yellow and green spots to foot cushion.
‘F’ and ‘R’ rectangle between yellow and green spots to head cushion.
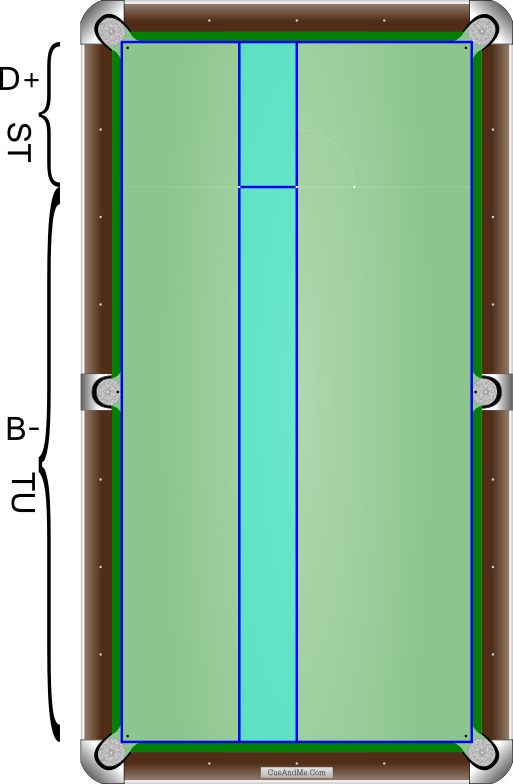
‘B-’ and ‘TU’ rectangle between brown and yellow or green spots to foot cushion.
‘D+’ and ‘ST’ rectangles between brown and yellow or green spots to head cushion.
‘D’ and ‘ST’ from black spot to foot and one side cushion.
‘Q’ from pink spot to foot and one side cushion.
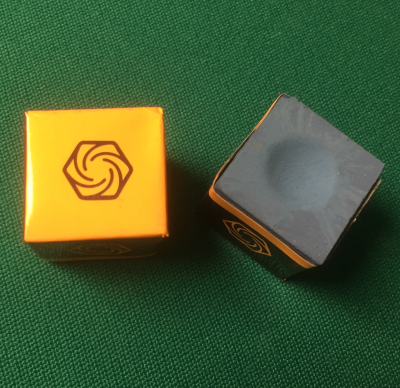
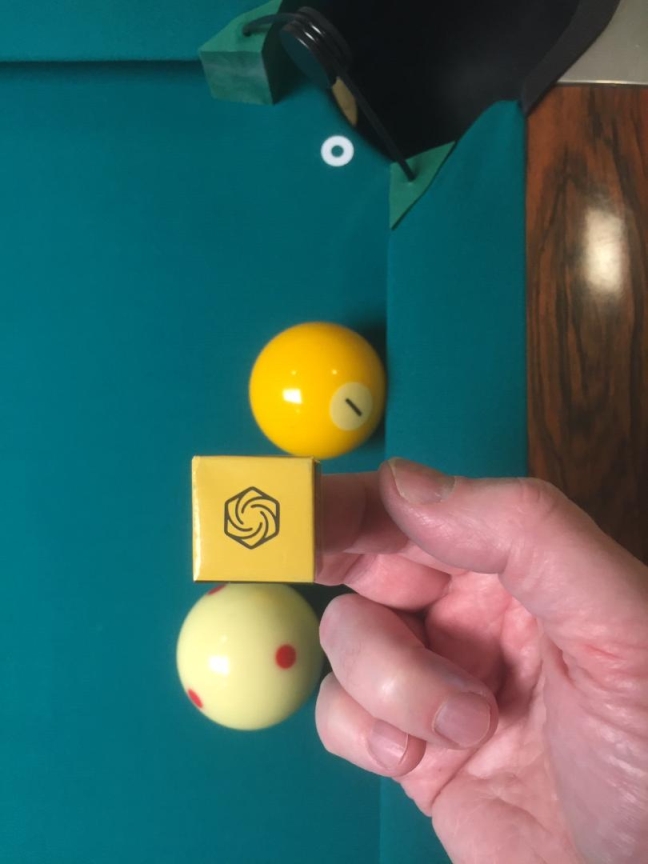
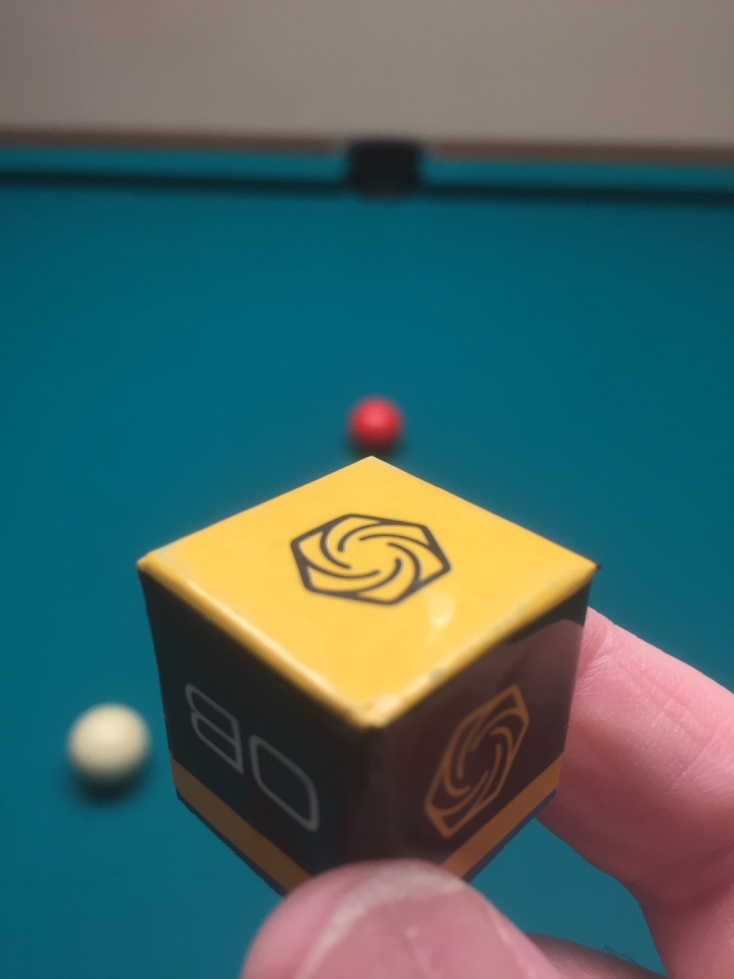
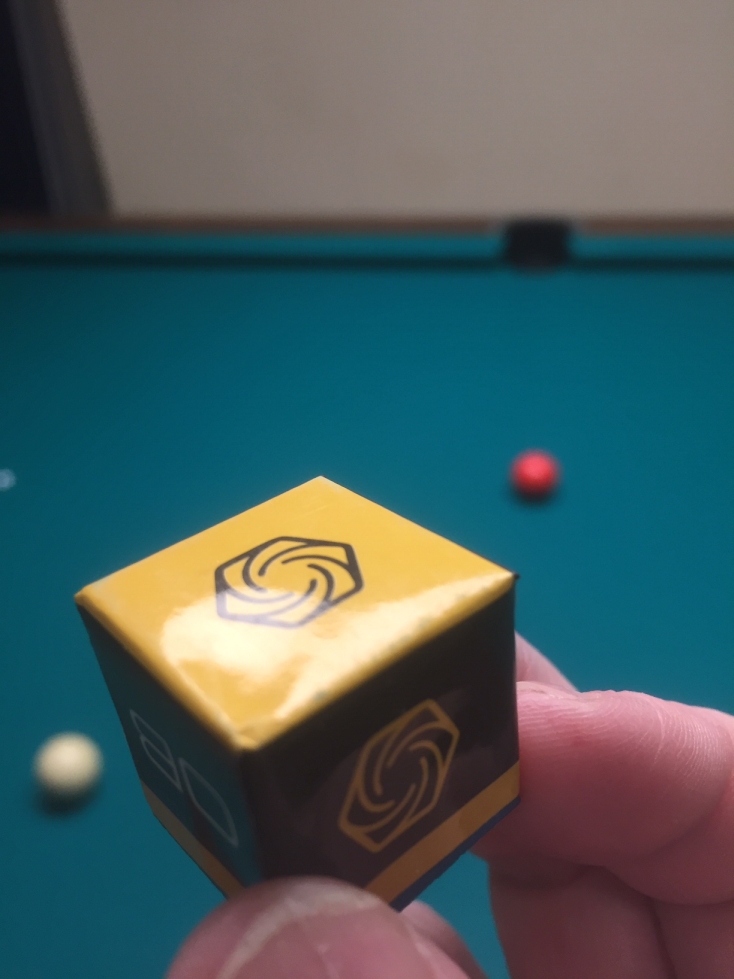
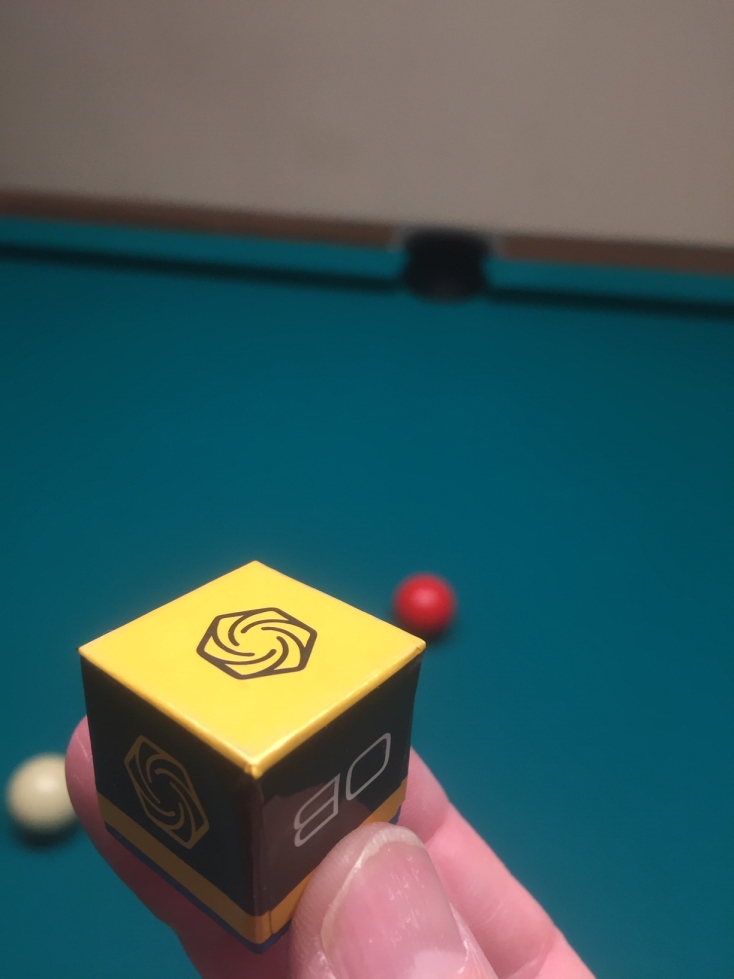
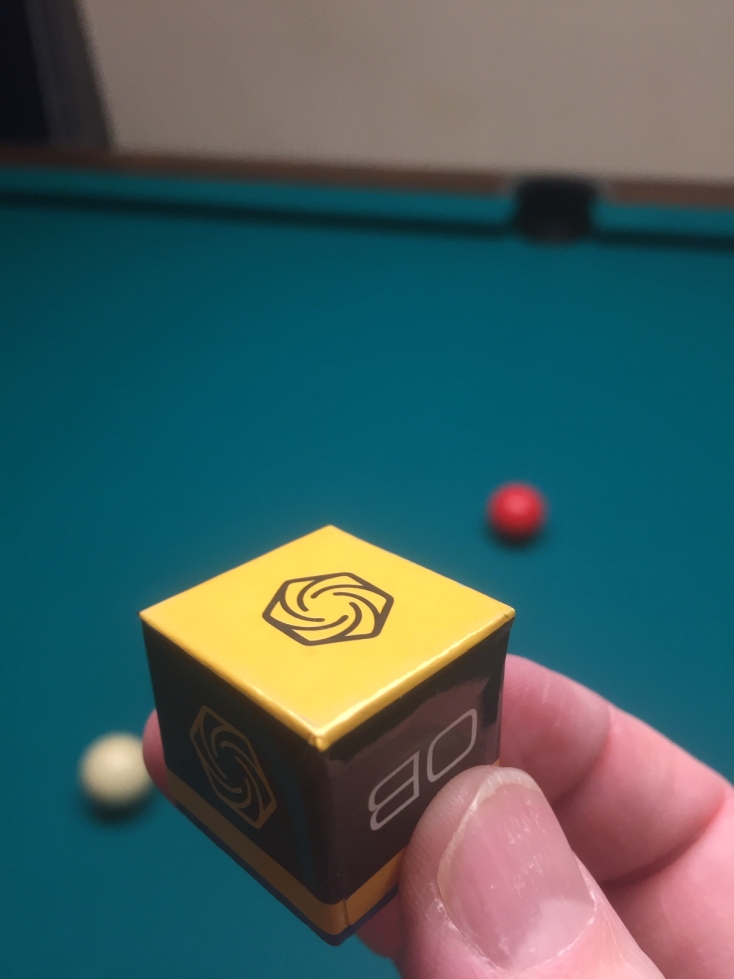
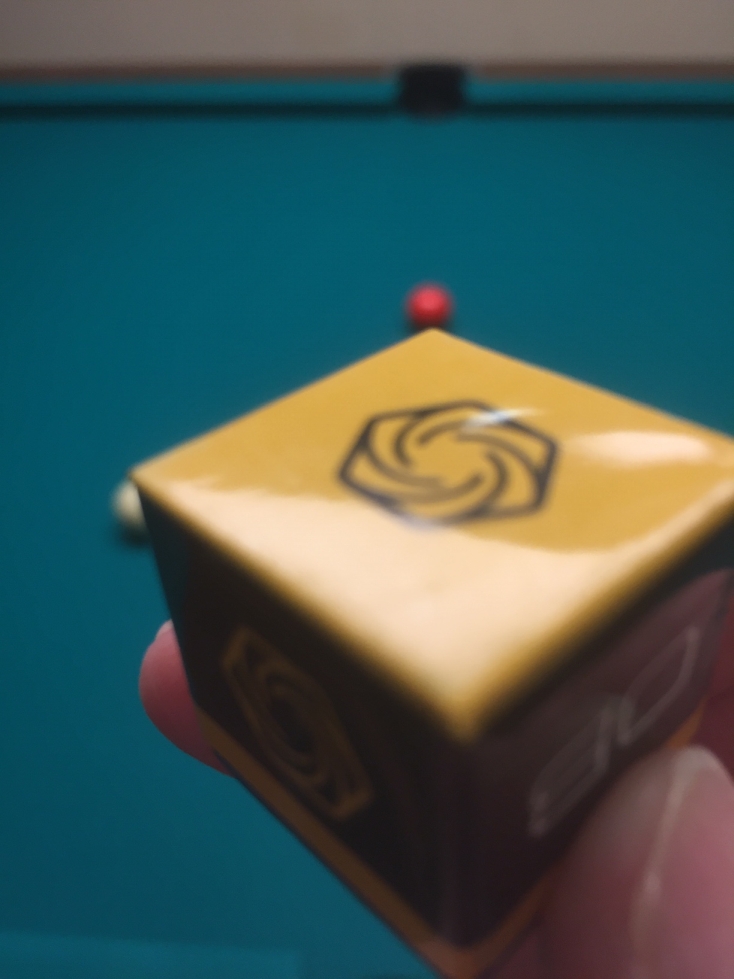
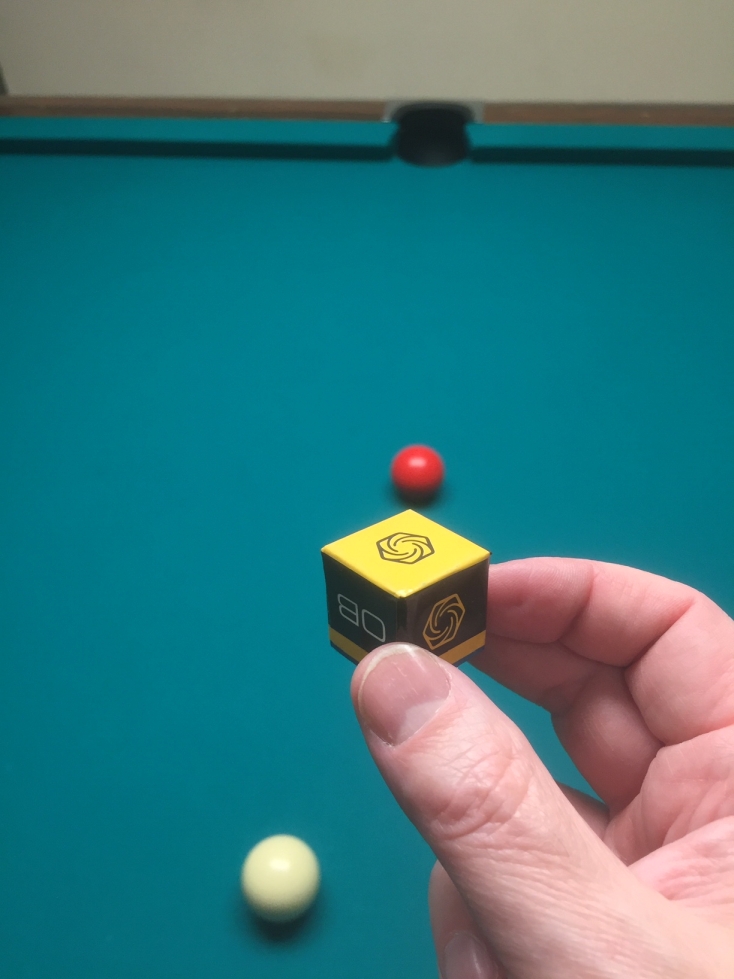
We all know how essential the cube of chalk is to cue sports, but how many of us have ever considered the cube-ness of a cube of chalk? Although chalk recipes vary from manufacturer to manufacturer, chalk cube geometric proportions are fairly uniform. A chalk cube is not a geometrically perfect cube, but fortunately for us, the papered bottom of almost any chalk cube is a perfect square and can therefore be used as a portable reference tool. The top of an unused cube of chalk is also a perfect square but becomes less reliable with use, so we will focus on the papered bottom.
The Ghost Cube
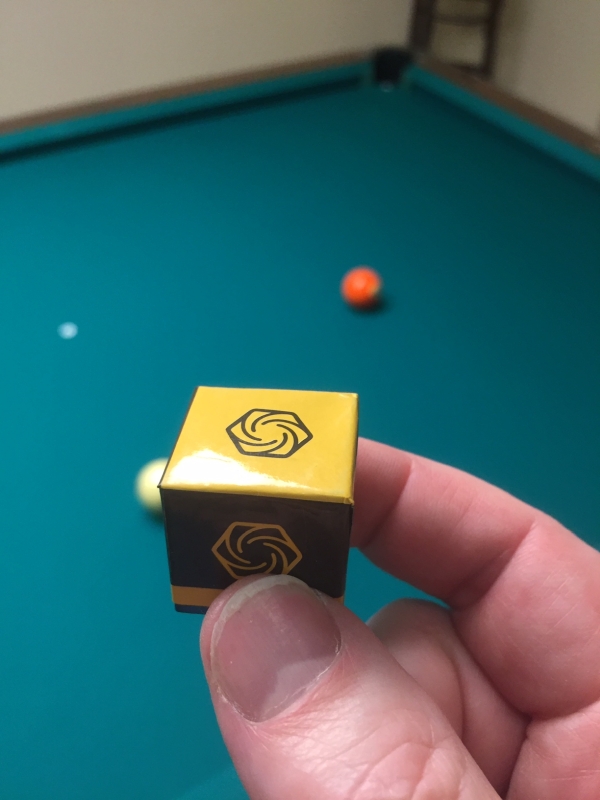
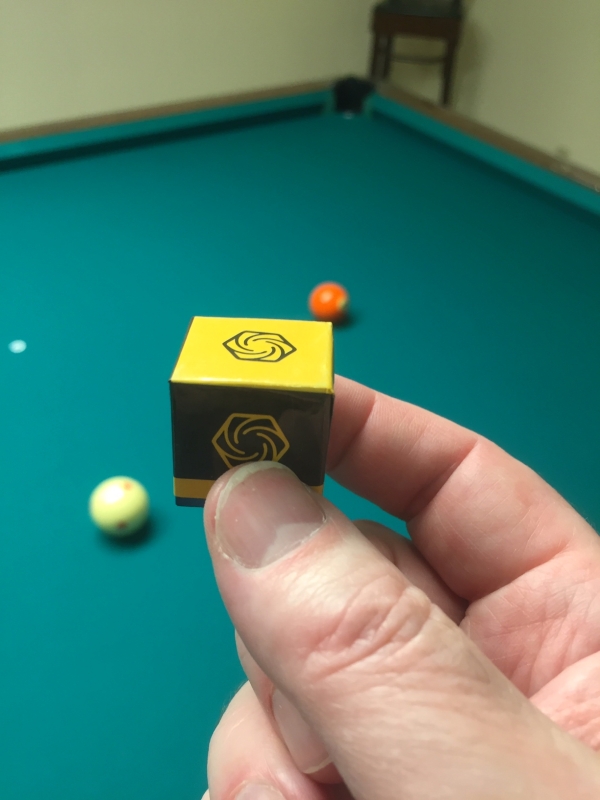
To those fortunate to have sight in both eyes, have you ever noticed while focusing on a distant object that nearer objects in your view appear doubled and semitransparent? To see this effect, continue to focus on the screen, but lift a finger to a position between the screen and your eyes. You should notice that your finger appears as two semitransparent fingers—one on the left and the other on the right.
![]()
If you keep the focal distance of your eyes at screen distance, you can shift your eyes to the left and to the right and look directly through each of your ghost fingers.
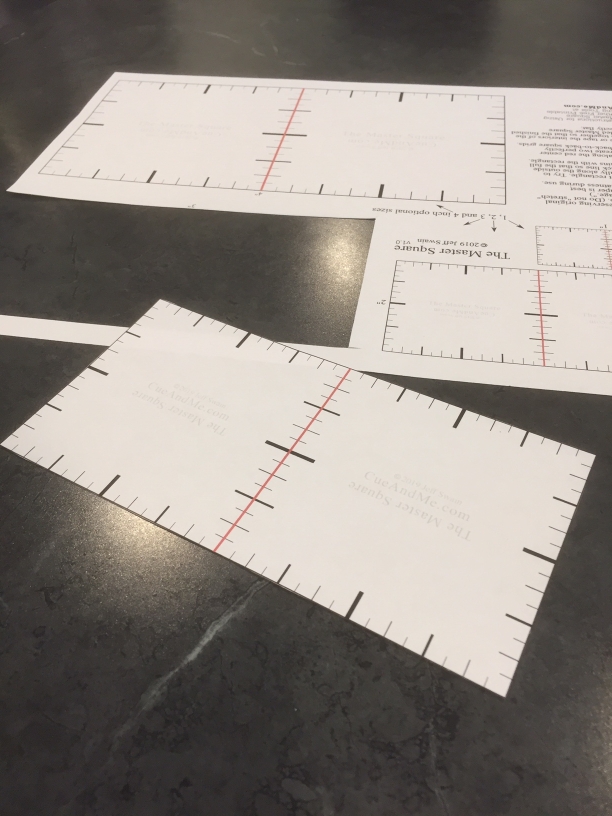
We will make use of this ghost image phenomenon in using the chalk cube as an Angle Detective reference tool. If you have sight in only one eye, the chalk cube can still be used but will appear opaque and be slightly less convenient, because the height of the cube obscures portions of the table. However, in the Angle Detective zipped downloadable folder you will find a printable flat Master Square reference tool that is even more useful than the chalk cube. Of course the printed Master Square would only be allowed during practice sessions.
Important: Before using your chalk cube as a reference in a game situation be sure to check that the rules and everyone involved in the game allow its use. My main intention for sharing this alternative use of a chalk cube is to encourage double checking of your work during practice sessions.
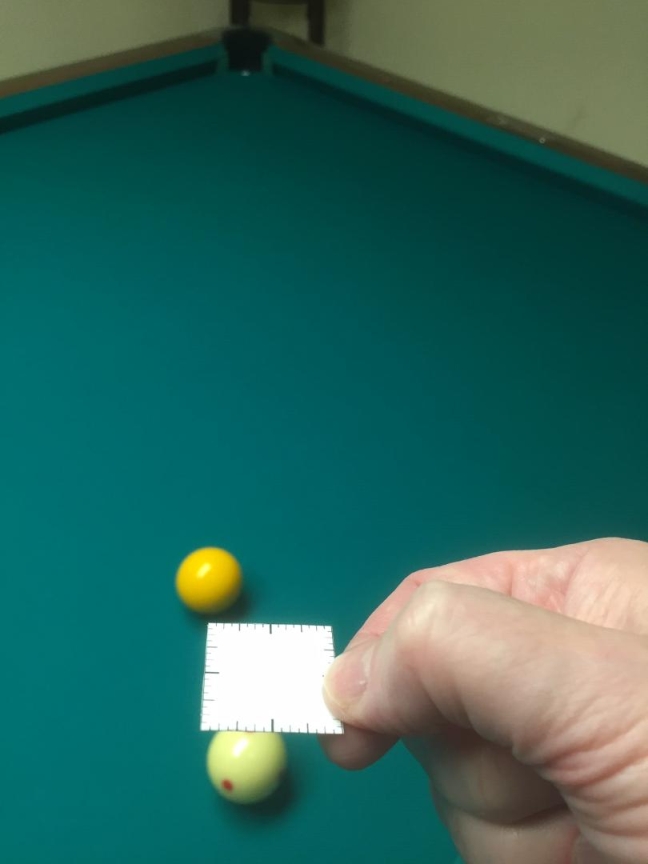
There are several ways to use the bottom square of a chalk cube (or the printed Master Square), but first we must “level” it. We hold the chalk so that the square bottom plane is facing upward and parallel to the table’s playing surface.
If the square is not parallel, its sides and corners do not match the proportions of what would be a square lying flat on the table or at ball height, so as a reference it would yield inaccurate measurements.
You can place a square on the table to practice leveling by hovering the chalk’s bottom square to match. The interior square of the Reference Shot Marker printable tool in the Angle Detective download folder is one option for a perfect square to use.
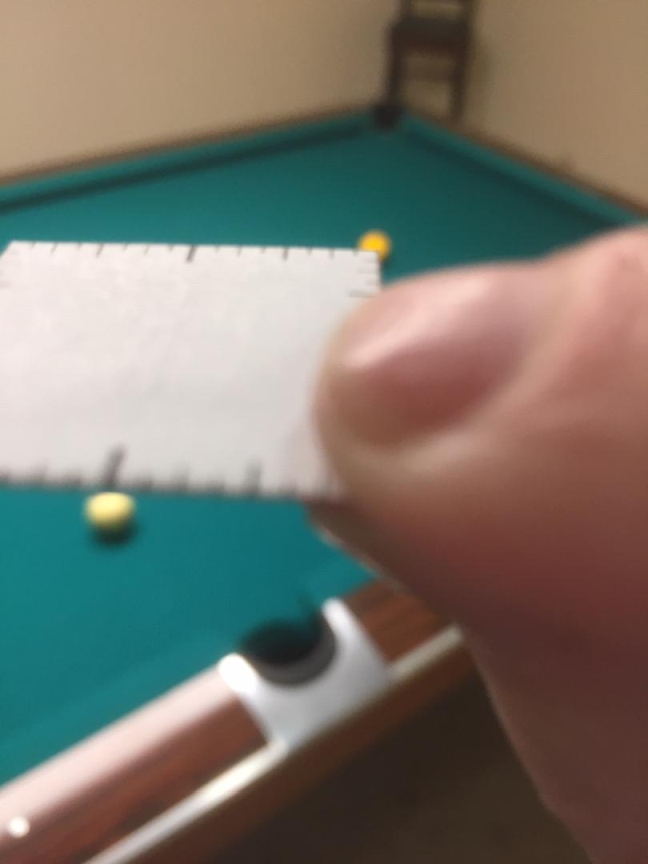
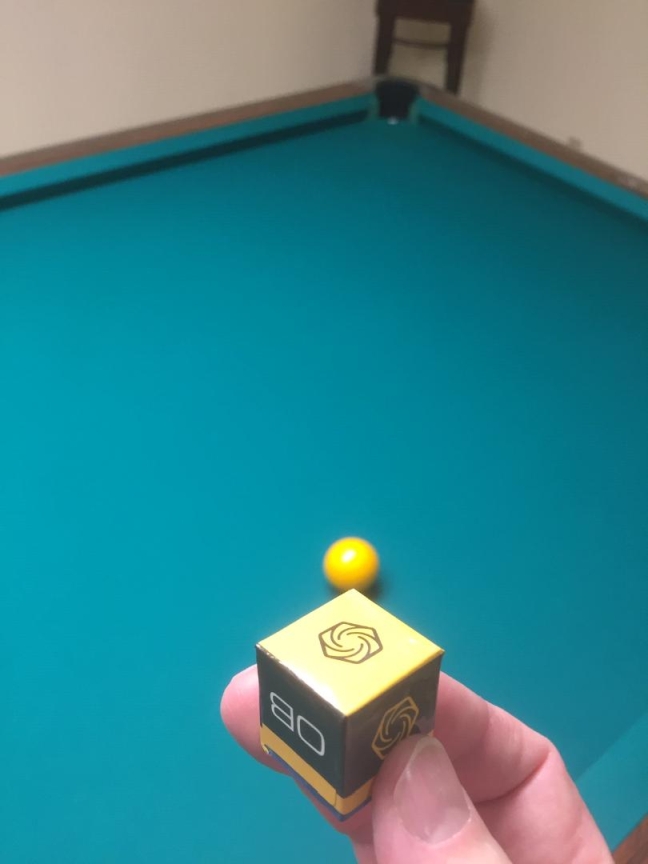
Another way to practice leveling is to stand at the foot or head of the table and align the left, the right and the head or foot cushions with three adjacent sides of the bottom square. If they can be aligned, then the square is leveled.
By moving the chalk cube closer to or further away from our eyes, we effectively alter the size of its bottom square to fit the Master Square of nearly any shot on the table.
From Position 1, if the cue ball and object ball are near one another, the Master Square is small and we must therefore hold the chalk or portable Master Square tool further away from our eyes so that the square appears small enough to match.
If the balls are far from one another, the Master Square is large and we must hold the chalk or tool near our eyes to make the square appear large enough to match.
You can choose either of the two ghost images to use as the reference. You can also choose to close one eye to see only one opaque square. Sometimes the double image can be distracting.
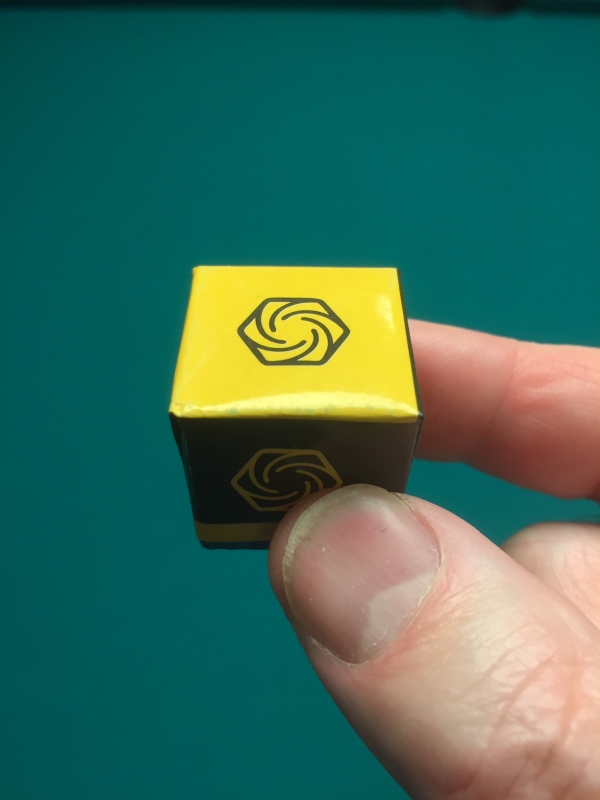
There are two orientations to hold the chalk cube’s bottom square—Square and Diamond.
Square Orientation
The Square orientation is where one of the cube bottom’s sides is facing us.
One way to use the square orientation is for it to represent the Master or ‘Q’ Square. Carefully position the cube’s bottom square so that one of its ghost images fits a shot’s Master Square. This allows us to vividly see the position of the cue ball, object ball, or pocket relative to the square to determine the shot label.
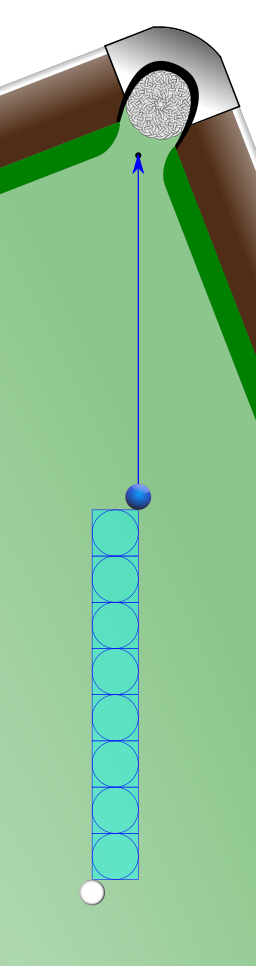
We can also use the square orientation to represent a subsquare. Carefully position the cube bottom so that one of its ghost images fits precisely within a shot rectangle’s first subsquare.
From there, carefully reposition the square so that it now rests adjacent to the first subsquare.
Continue stacking in this fashion to count the number of subsquares of a shot rectangle. For shots under 45° from Position 1, this technique would mean moving the cube bottom closer or further away from our eyes. For shots over 45°, it would mean moving the cube bottom either right or left.![]()
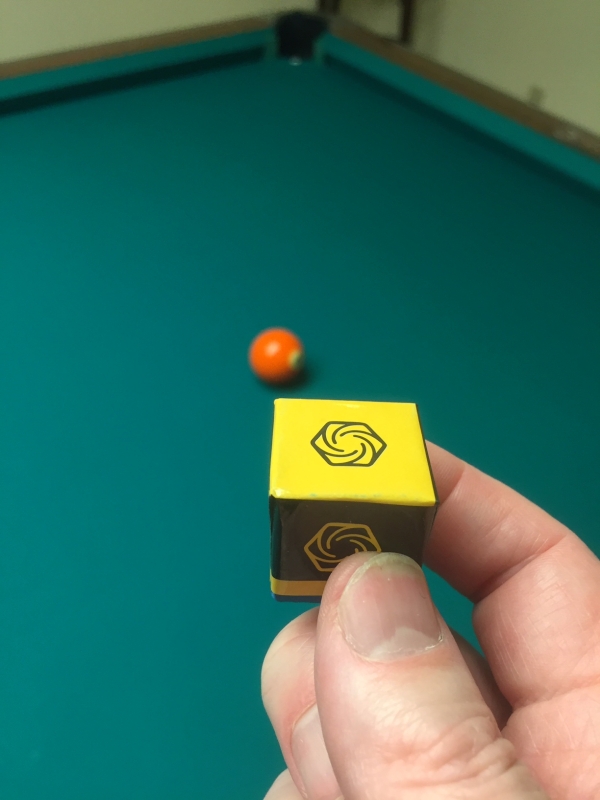
Diamond Orientation
The Diamond orientation is where one of the cube bottom’s corners is pointing at us and its opposite corner is pointing away from us.
One way to use the diamond orientation is to position the cube bottom so that two of its opposite corners rest at the ends of one of the Master Square’s sides. For under 45° shots from Position 1, this would mean that the corner facing us rests at the Master Square’s near/bottom corner, and the corner furthest from us rests at the object ball.
From here we know that the corner facing us is at ‘A’ and that ‘E’ lies directly below the cube bottom’s right or left corner. We can determine the shot label based on the cue ball’s position relative to ‘A’ and ‘E’. We can even slide the chalk to the right or left by half the diamond’s width to find the shot labels from ‘E’ to ‘Q’.
For over 45° shots, it would mean that the left corner rests at the object ball, and the right or left corner rests at the Master Square’s top/far corner.
From here we know that the right or left corner is at ‘U’ and that ‘S’ lies directly to the right or left of the corner facing us. We can slide the chalk downward by half the diamond’s height to find the shot labels from ‘Q’ to ‘S’.
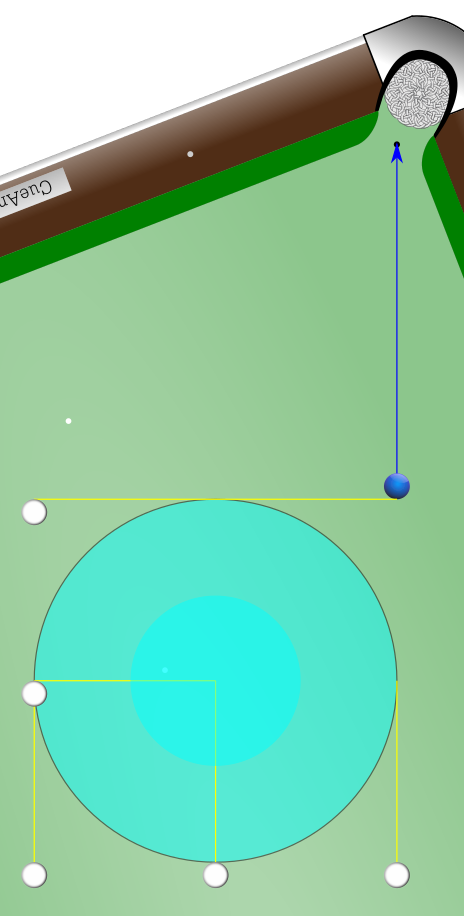
Another way to use the diamond orientation is to position the cube bottom so that one corner rests at one Master Square corner and an adjacent corner rests at the Master Square’s opposite corner. From Position 1, this would mean that the corner furthest from us rests at the object ball, and the right corner rests at ‘Q’.
From here, ‘A’ and ‘U’ lie directly below or to the right of the far corner, and we vividly see the ‘Q’ reference and what would be a 45° ‘Q’ shot line. We can also determine any shot label based on the cue ball’s position relative to ‘A’ and ‘Q’ or ‘Q’ and ‘U’.
We can even use the diamond orientation for subsquare counting. Position the cube bottom so that one corner rests at one corner of the Master Square, and its adjacent corner rests at the end of the first Zig or Zag of the first subsquare.
From this single placement, the first and second Zigs or Zags of the first and second subsquares can be clearly seen on two adjacent sides of the cube bottom. Counting each diamond as two subsquares, we can stack diamonds by sliding the cube to subsequent corners.


The Square and Diamond orientations work just as well with all Position 1 and Position 2 variations.
Other Chalk Shapes
Chalk comes in shapes other than cubes today such as cylinders and hexagons. These shapes can be used as reference tools as well.
The bottom of a cylinder is a perfect circle which fits neatly into a square. This means that cylindrical chalk can be used for subsquare counting.
Also, drawing a tangent line at the circle’s left, right, top or bottom can still help us find the same key reference labels as with the chalk cube. It becomes something of a Master Circle.
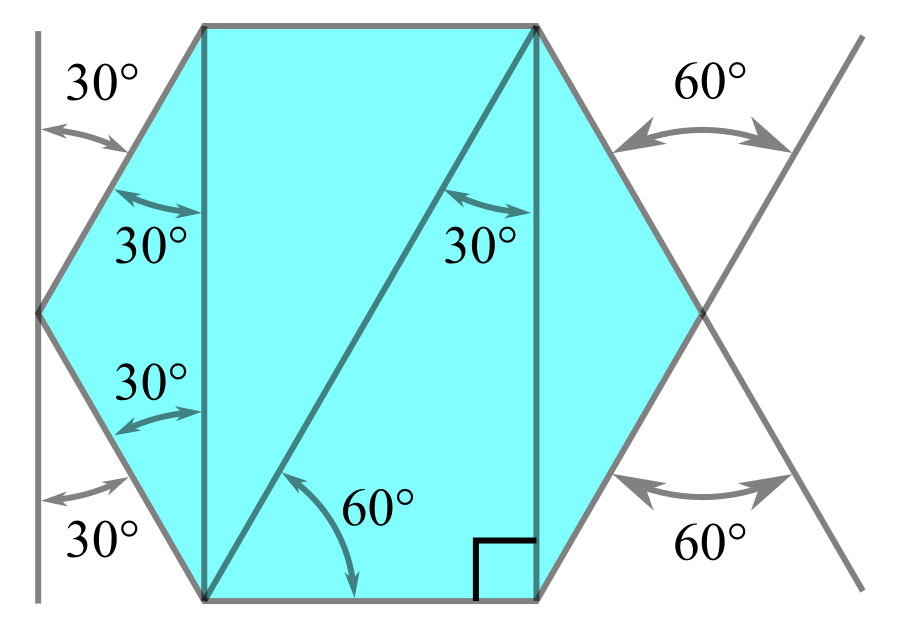
A hexagon is a shape that doesn’t fit neatly into a square, but it is still useful. We can find right angles, 30° ‘E+’, and 60° ‘S-’ references in several areas of a hexagon. We can use these references as we hover the leveled hexagonal chalk over the shot setup.
We carry portable reference tools with us everywhere we go—our hands and fingers. If we hold our hands flat and level with the playing surface, we can use the unique proportions of our hands as quick references. We can use features such as fingertips, finger bottoms, knuckle lines, nail beds and creases as landmarks for different reference rectangles. References can also be made from the widths of one or more fingers. We can even bend or stretch fingers from one or both hands to find various reference rectangles.
All hands are unique, so only you can determine the proportions of your hand references. An example might be to stretch your thumb and forefinger so that they form an L shape. Your thumb becomes the bottom of the rectangle and your forefinger becomes one side. What are the rectangles from tip to tip, top of tip to one side of tip, bottom of tip to other side of tip, etc.?
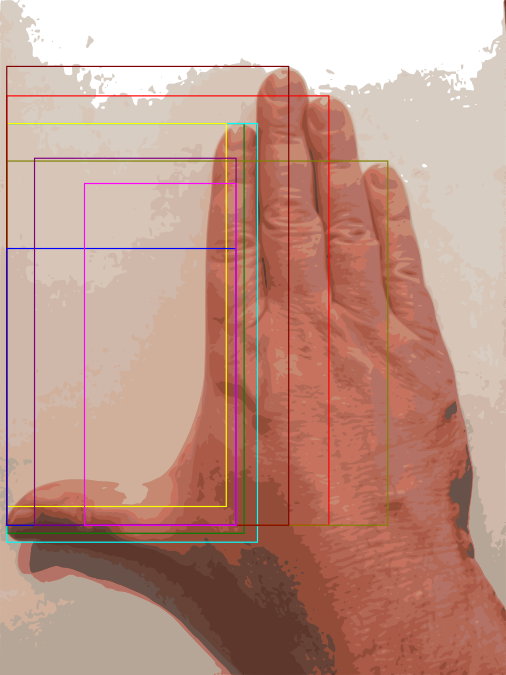
You can trace your hand on paper and measure, or you can hover the printable Master Square over your hand to visually compare any hand or finger rectangle formation. Once you’ve determined a hand reference, you’ll have it forever.
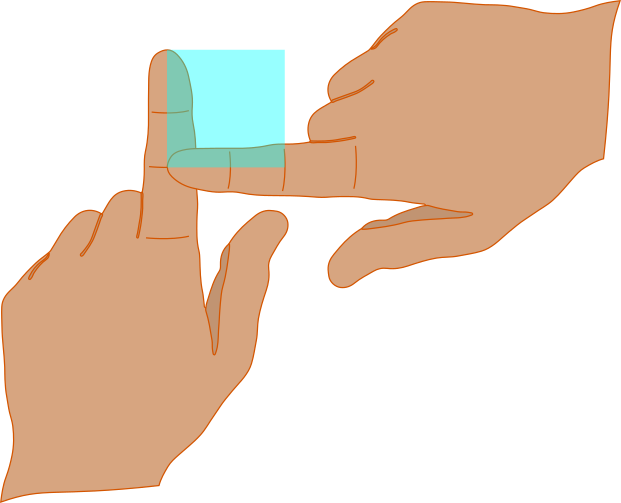
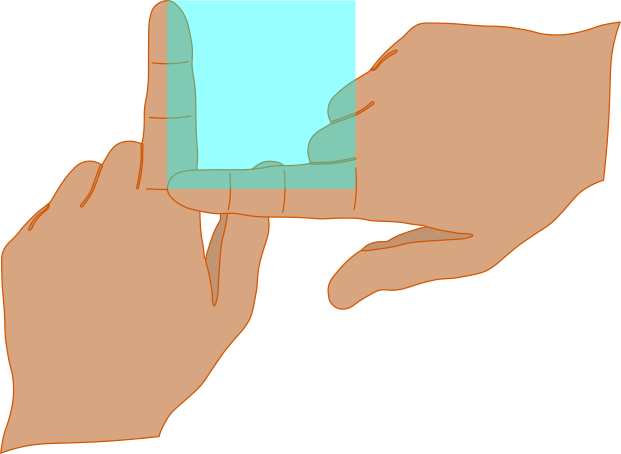
Two Hands
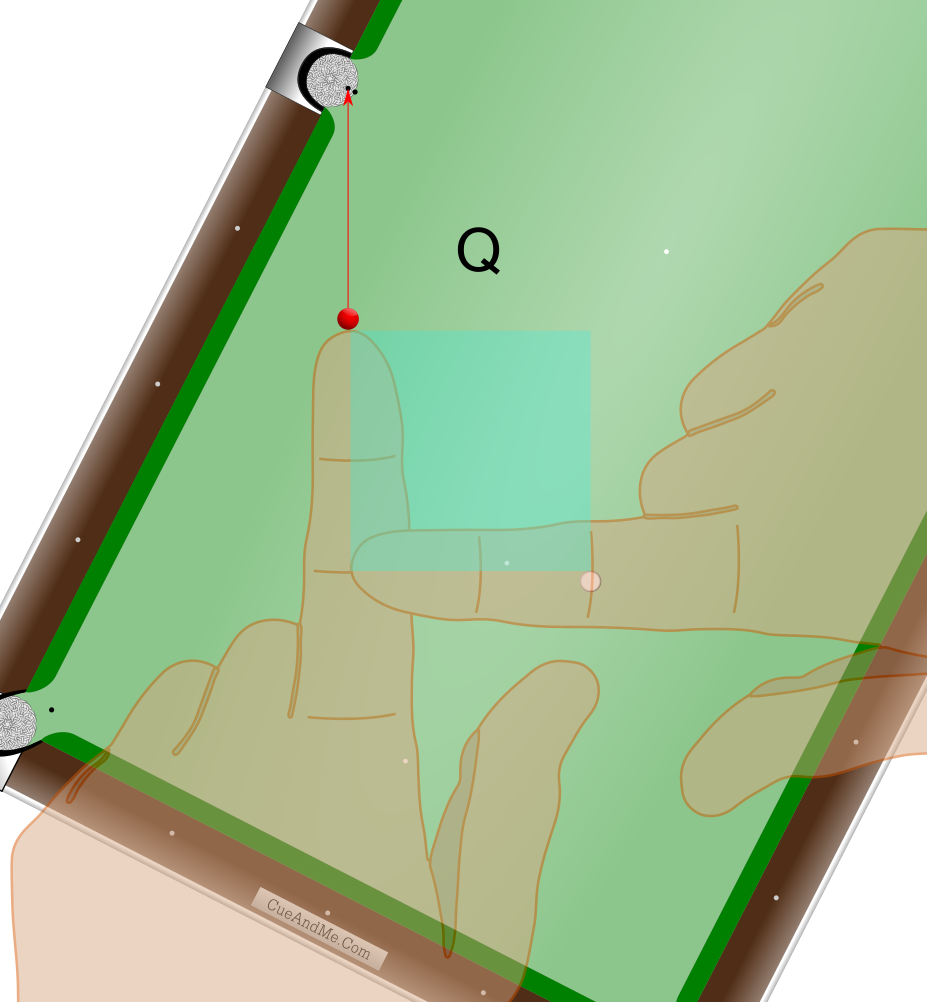
Since the fingers of our left and right hands are usually fairly equal in size, you can create an ‘L’ shape with a 90° orientation of both index fingers. Since you will be using both hands for this, be sure to secure the cue stick so that it doesn’t fall.
By placing the tip of one index finger at the intersection of the midline and one of the knuckle creases on the other hand’s index finger you can create an ‘L’ shape. The ‘Q’ corner is then located on the first finger at the same crease and midline intersection.
Level and resize this ‘L’, and hover it over the shot that you are facing.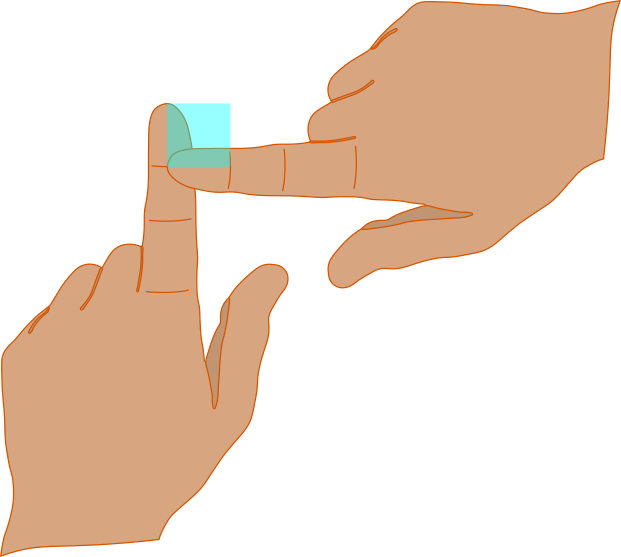
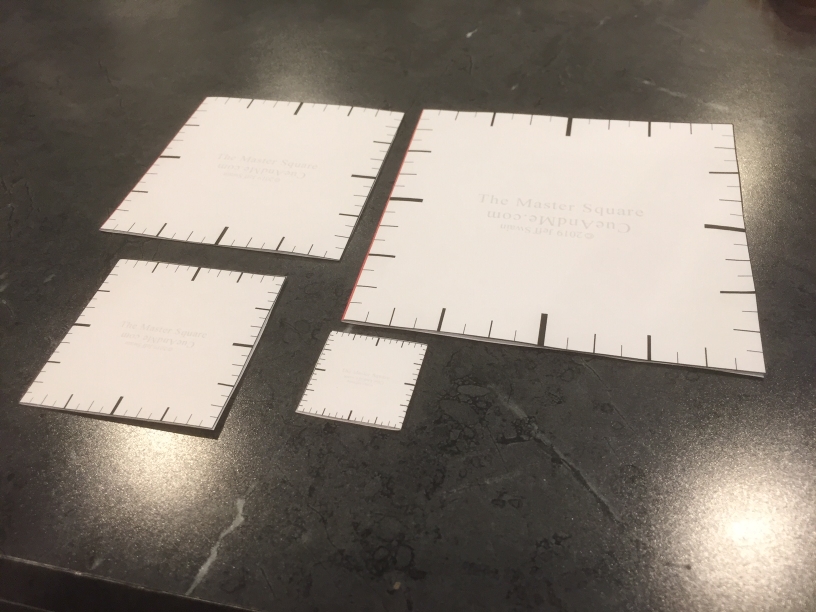
As mentioned under the chalk cube section, in the Angle Detective zipped download folder you will find various sizes of a printable Master Square that you can take to the table. Also in the folder are printable references of the main reference rectangles as well as the main reference rectangles with included subsquares.