
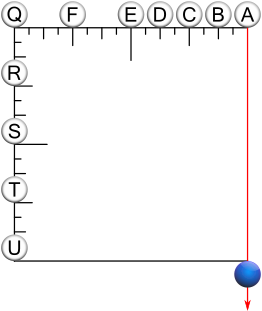
Position 1-3 Master Square
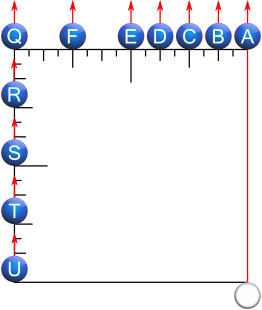
All of the Position 1 pattern sequences were drawn starting from the object ball’s position at the near/top corner of the Master Square, working our way towards the cue ball’s position. However, if we rotate the Master Square 180° and slide it across so that the cue ball now rests at its near/top corner, we see that we can instead draw all of the patterns by starting from the cue ball’s position, working our way towards the object ball.
Although we could stand in Position 1, the Position 1-3 (Cue Ball View) standing position is probably best to apply the Position 1-3 Master Square flipped patterns.
The lines in each flipped pattern sequence are simply mirrors of those in the standard Position 1 pattern sequence. Up is Down, Down is Up, Right is Left, Left is Right, Zigs are Zags, and Zags are now Zigs.
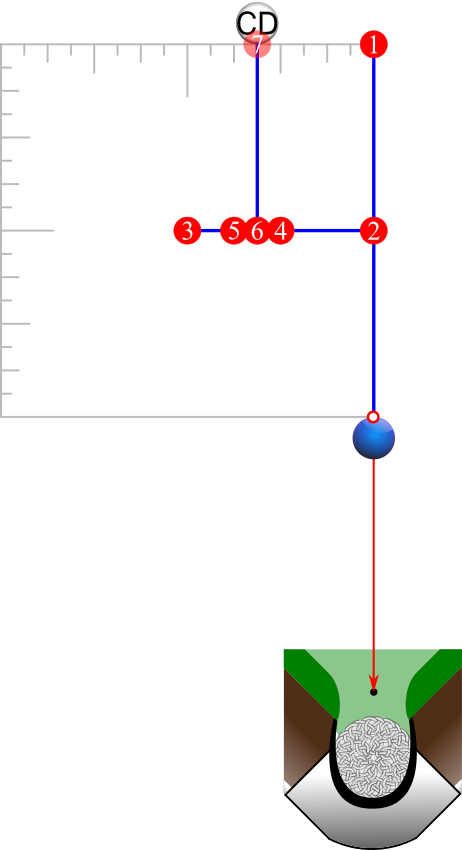
For example, the standard object ball h sub-pattern Sequence 1 is:
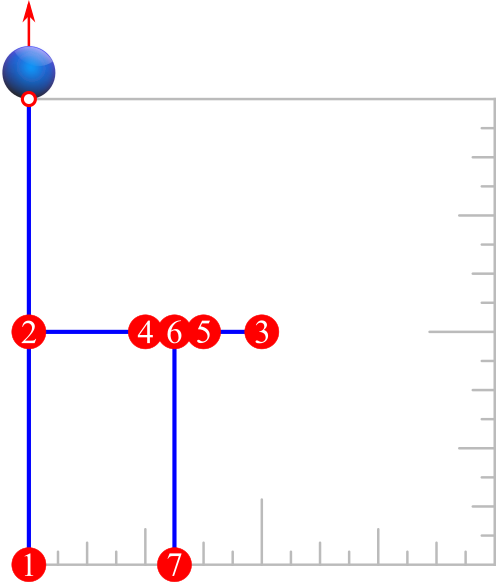
Down, ½ Up, Right, ½ Left, ½ Right, ½ Left, DOWN.
But the Position 1-3 flipped h sub-pattern Sequence 1 is:
Up, ½ Down, Left, ½ Right, ½ Left, ½ Right, UP.
Either way, we arrive at the very same destination shot labels.
All of the Position 1-3 Flipped Patterns reside within the Position 1-3 Master Square.
Position 1-2 Master Square
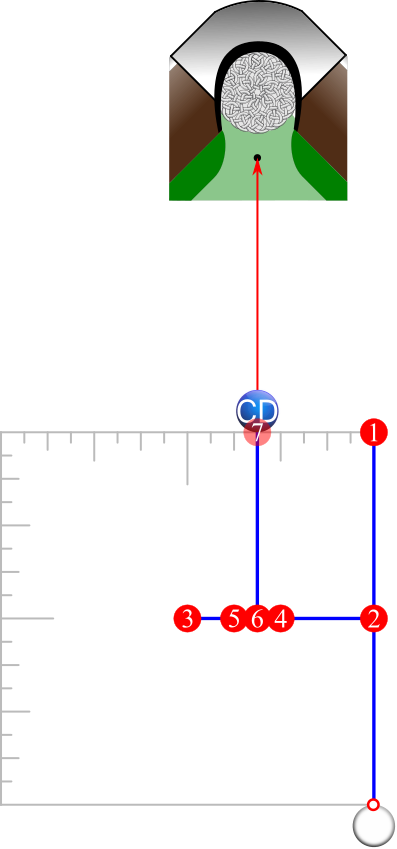
Another way to draw the patterns is by standing at the Position 1-2 (Pocket View) variation which we learned is along the Release Line but on the opposite side of the pocket. From Position 1-2, we draw the very same patterns as the flipped Position 1-3 patterns we just covered. The only difference is that we are starting the flipped patterns from the object ball and working towards the cue ball.
As with the Position 1-3 flipped patterns, the Position 1-2 flipped patterns arrive at the very same destination shot labels as the standard Position 1 patterns.
