Angle Detective Training Tool Preparation and Use

Portable Master Square

The portable Master Square printout contains 4 optional Master Square sizes—1 inch, 2 inch, 3 inch and 4 inch squares. The smaller two sizes are actually the most practical and can be used for almost all shot setups. The larger two sizes are helpful for distant ball setups, but must be held far from the eyes to fit close ball setups.

If you’d like to alter these sizes, you should be able to turn off the “actual size” setting of your printer software and shrink or expand the pdf file image as you see fit.

For the Master Square tool, the heavier the weight of paper the better, because we want it to remain as flat as possible and resist warping.

Once printed, choose one of the Master Square sizes and carefully cut out its rectangle.

Fold it in half at the red center line.

Use double-sided tape, tape donuts or a very light coating from a glue stick to affix one side of the square to the other. Too much glue will warp the shape of the Master Square. We want to keep it as flat as possible.

Here are the finished Master Squares ready to be taken to the table and used as explained under the Rectangles Everywhere/Humble Cube of Chalk topic heading.

Reference Shot Marker

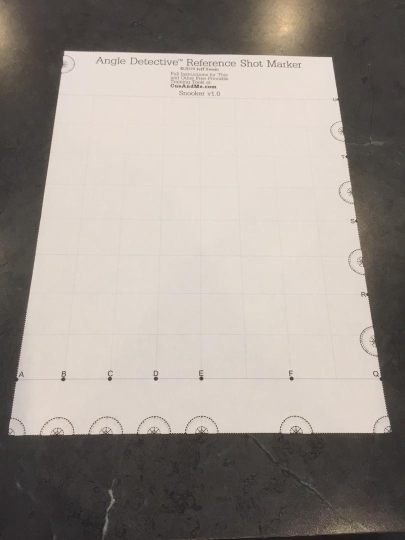
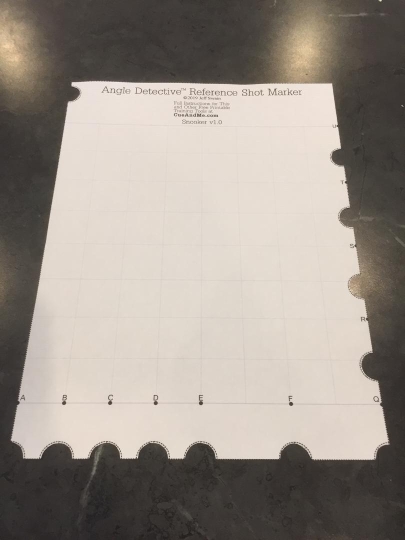
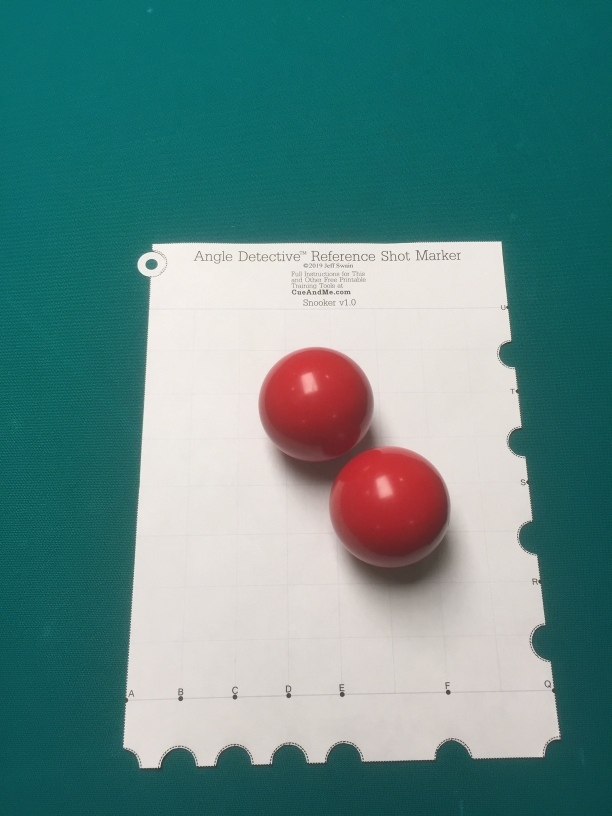
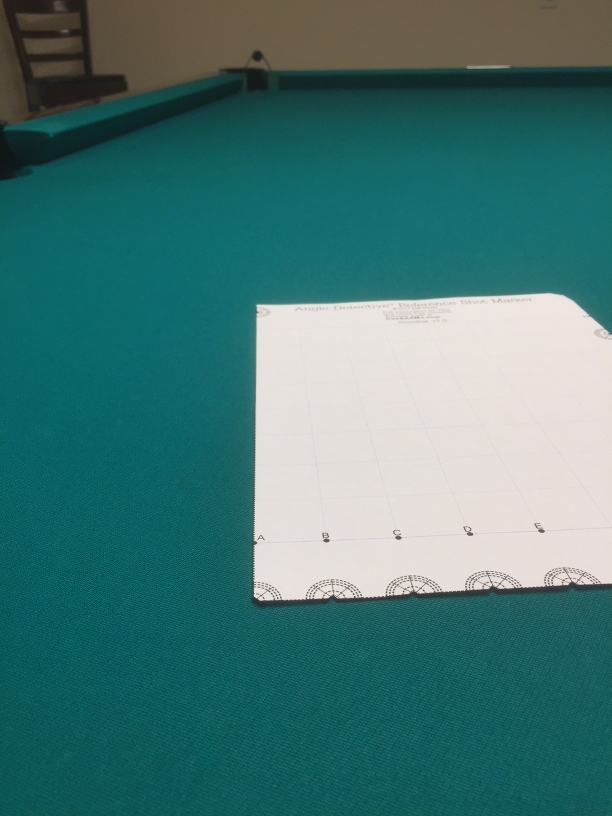
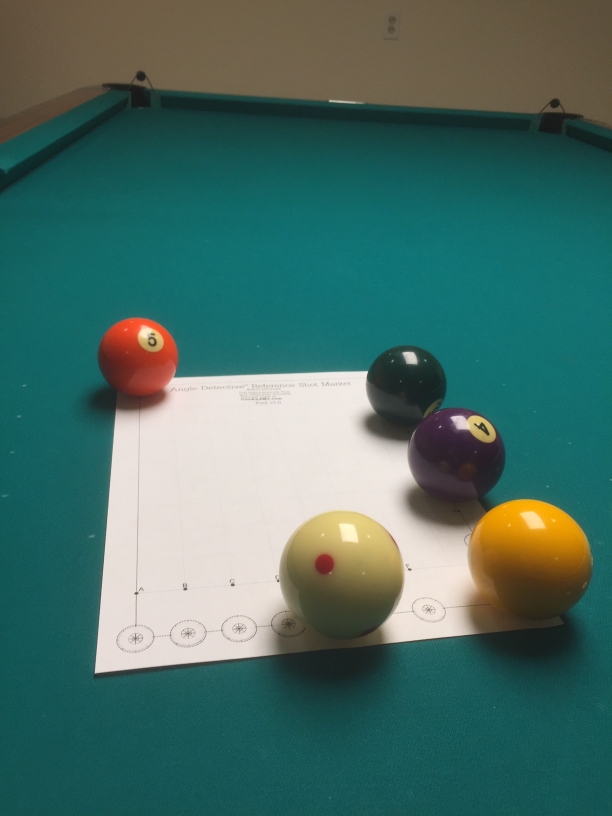
The Reference Shot Marker is a tool that can be used in a few different ways to accurately set up reference shots for repeated practice.

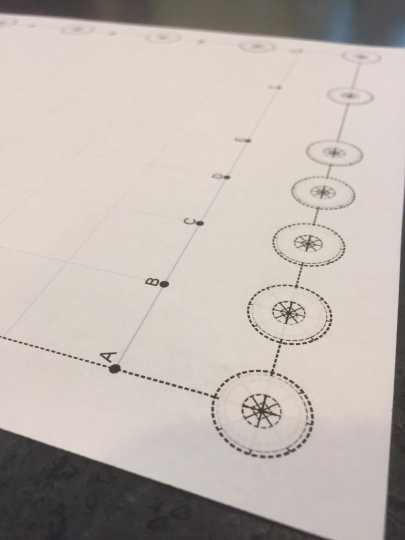
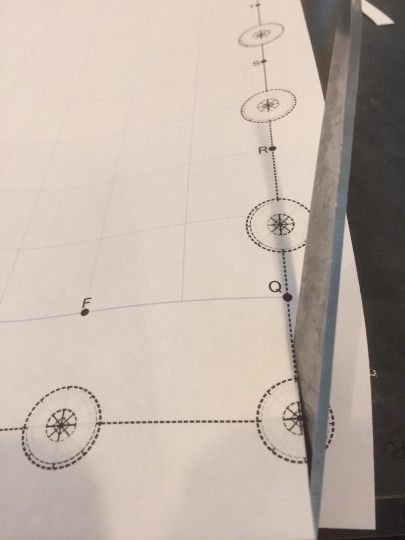
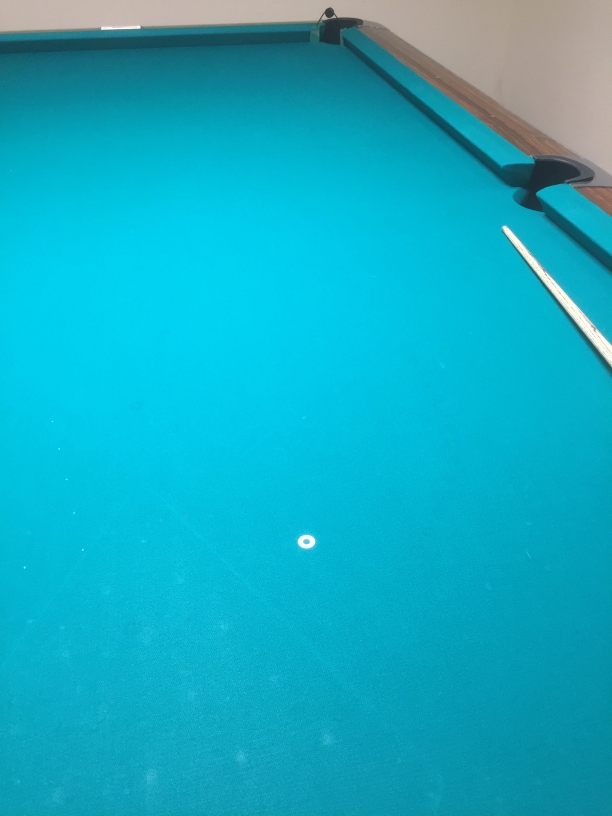
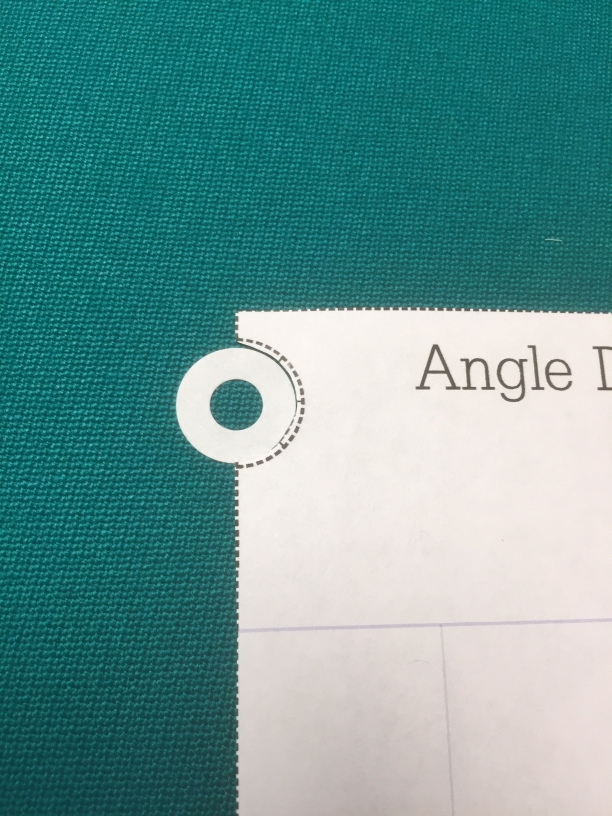
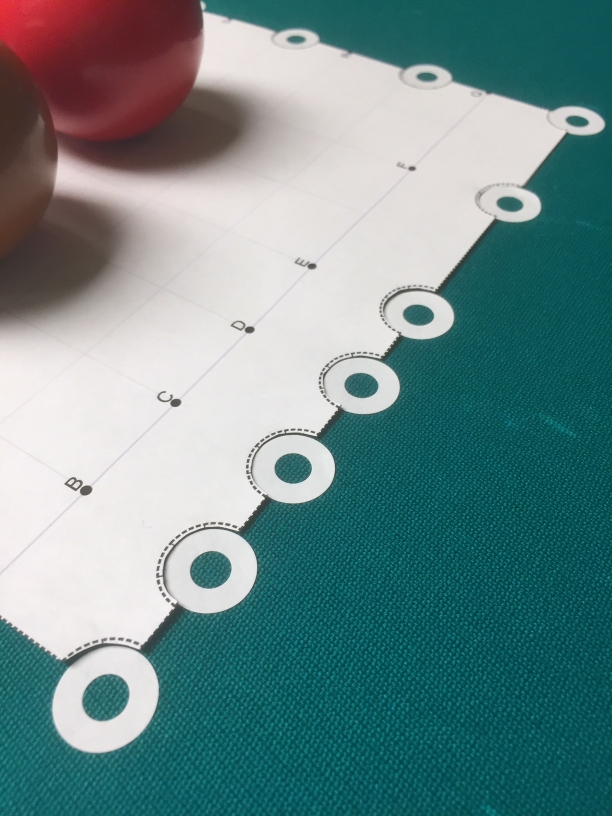
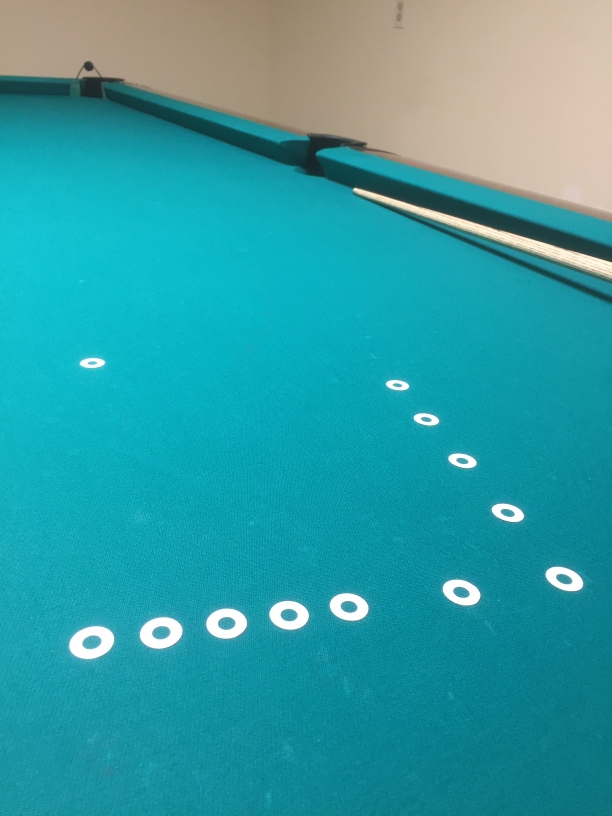
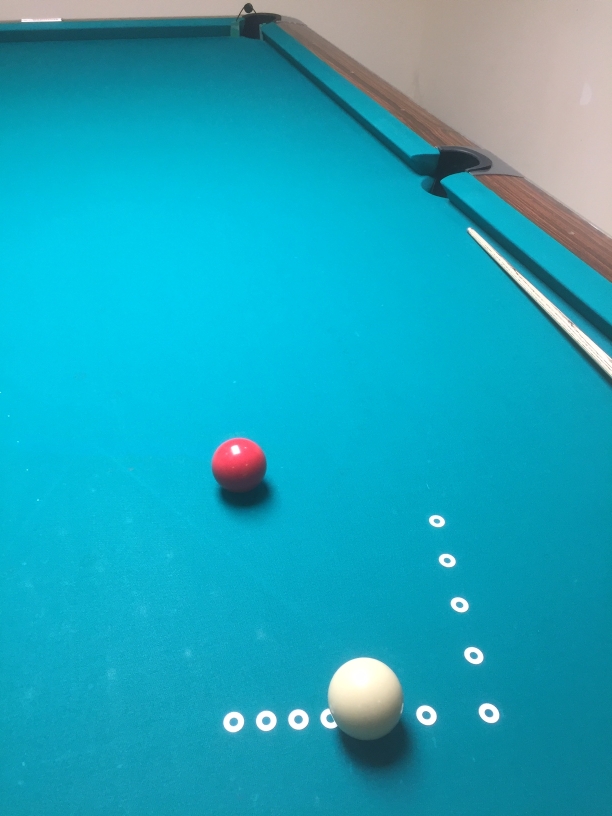
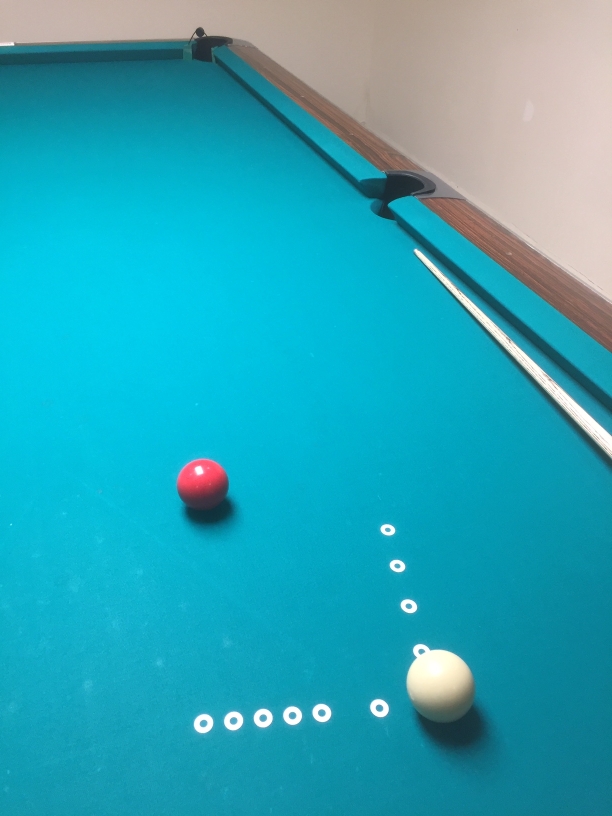
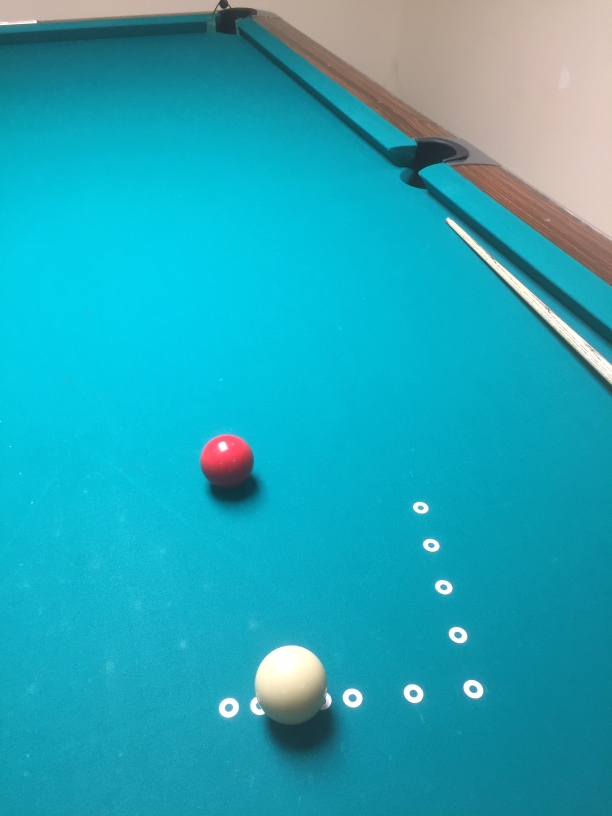
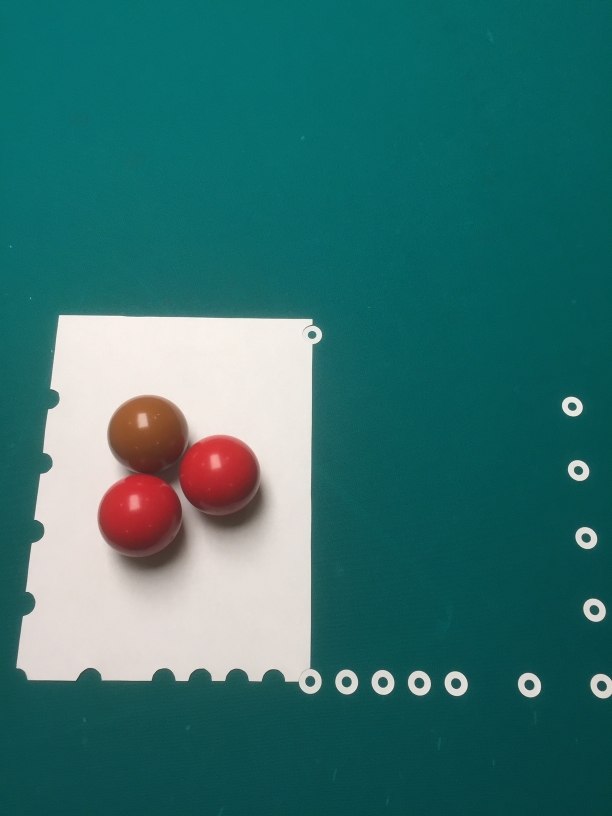
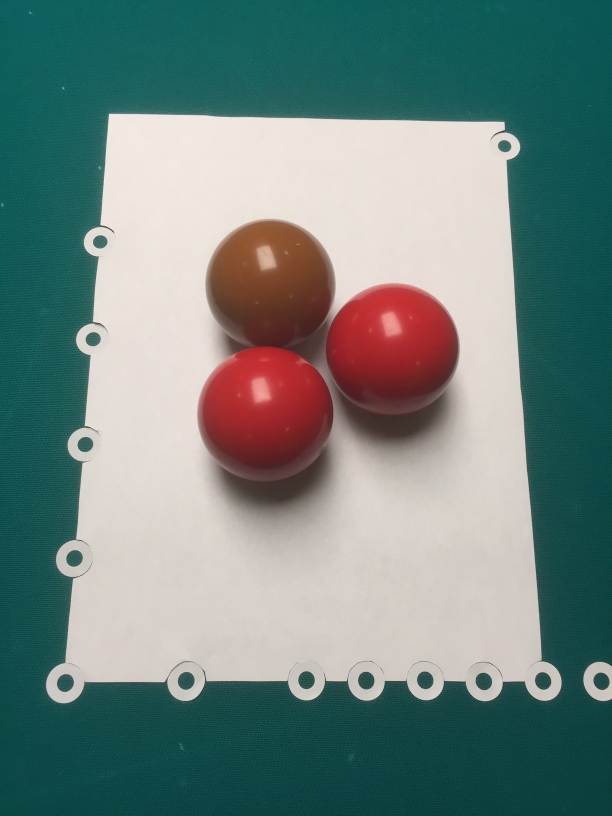
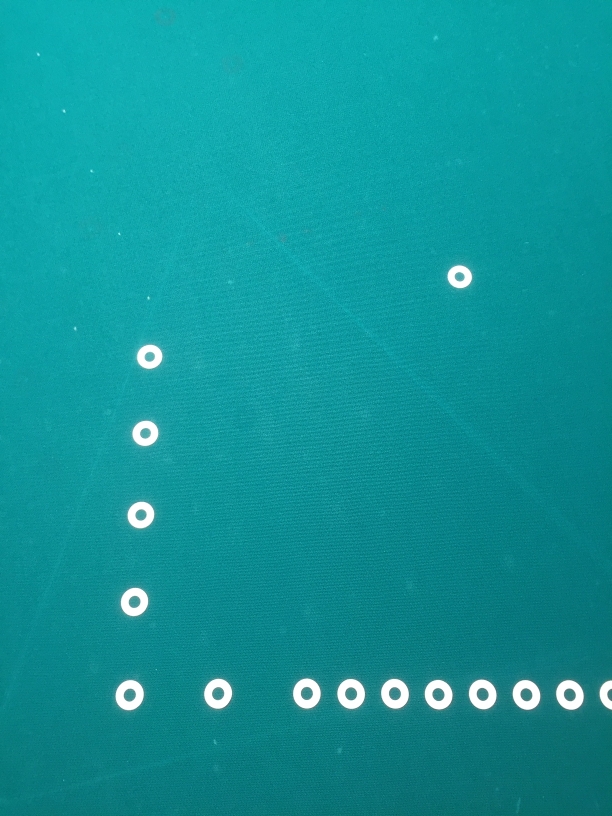
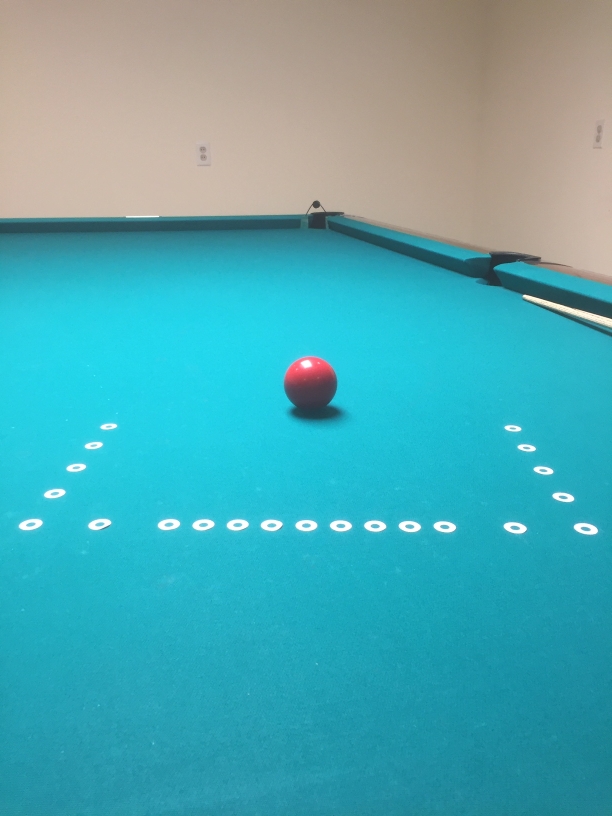
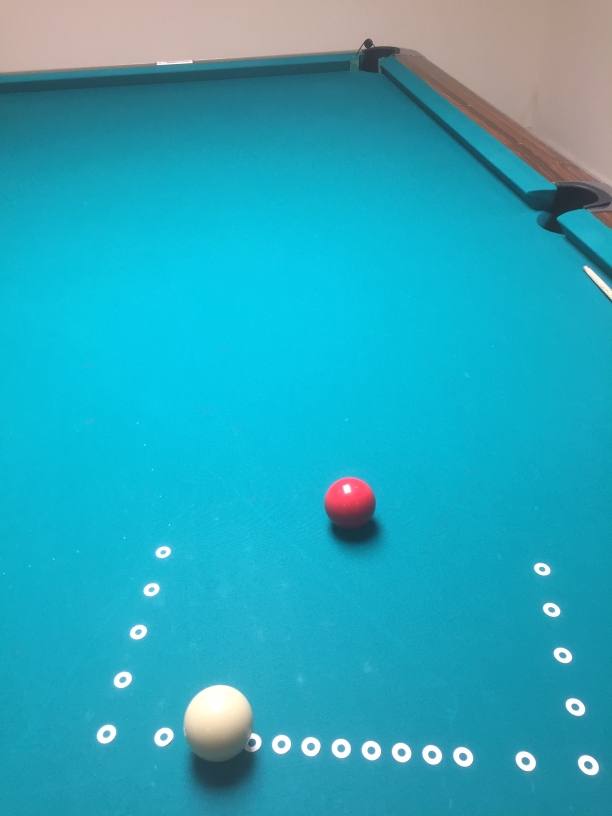
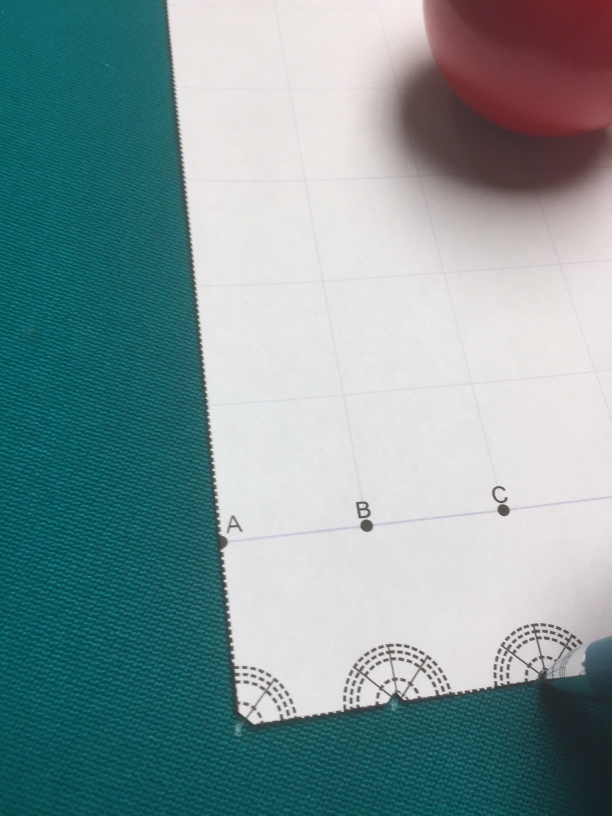
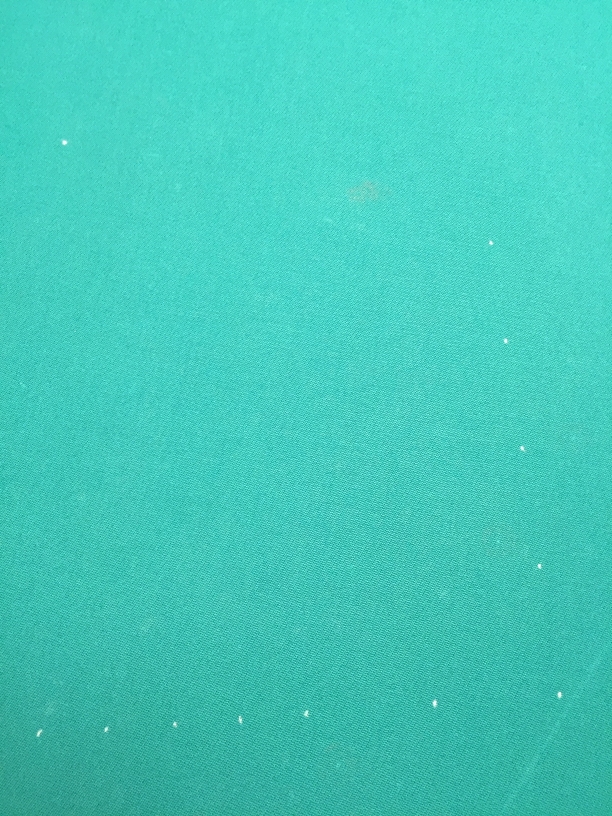
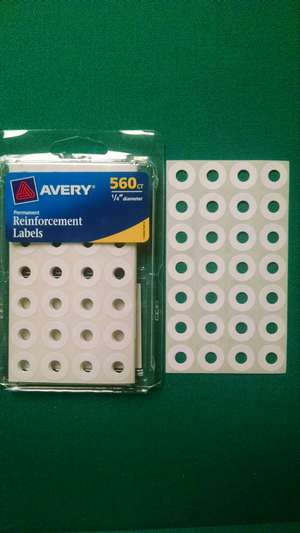
  • The label placement objects (LPOs) around the edge of the tool are designed to accept adhesive reinforcement labels, which can be placed directly on the table to mark the reference cue ball positions. Reinforcement labels such as the Avery labels in the image below can be very helpful tools for marking ball positions for repeated practice.

    Avery 6734 Hole Reinforcement Labels

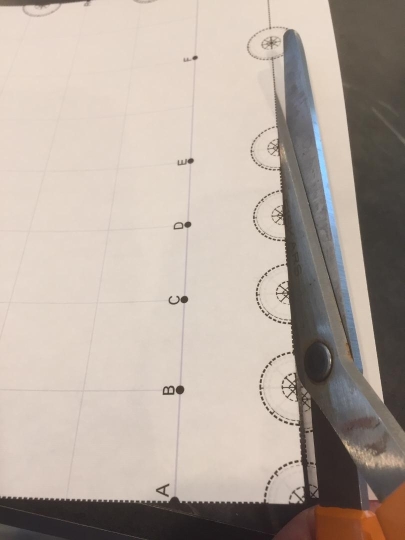
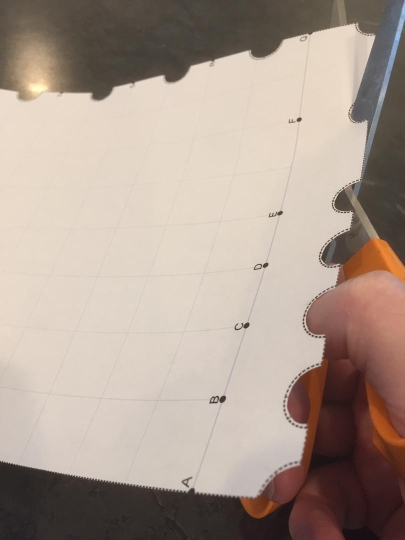
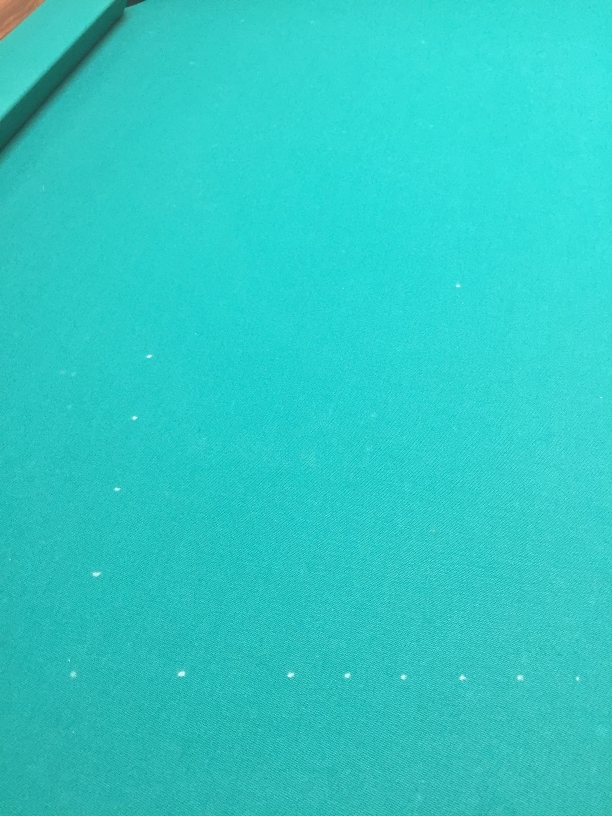
  • The second option is to notch out the centers of the LPOs for marking the cloth with chalk, powder or pencil.
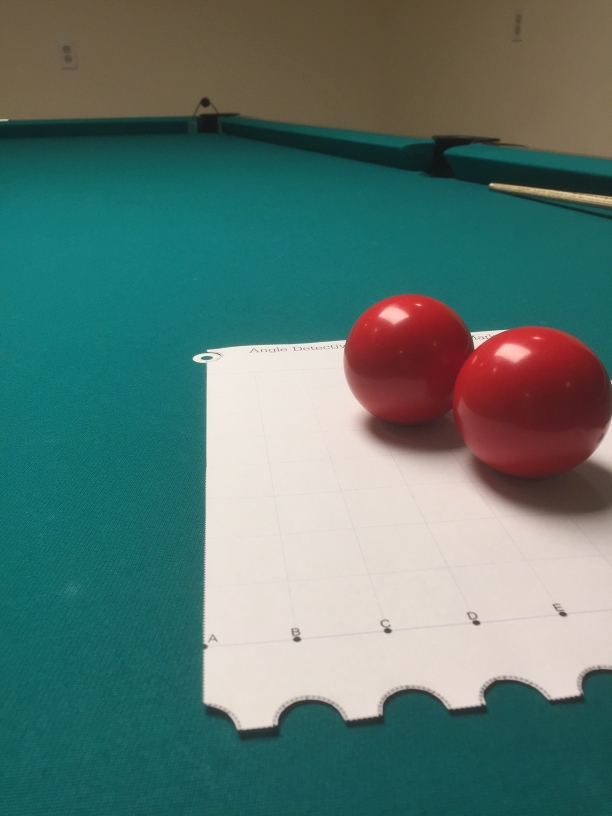
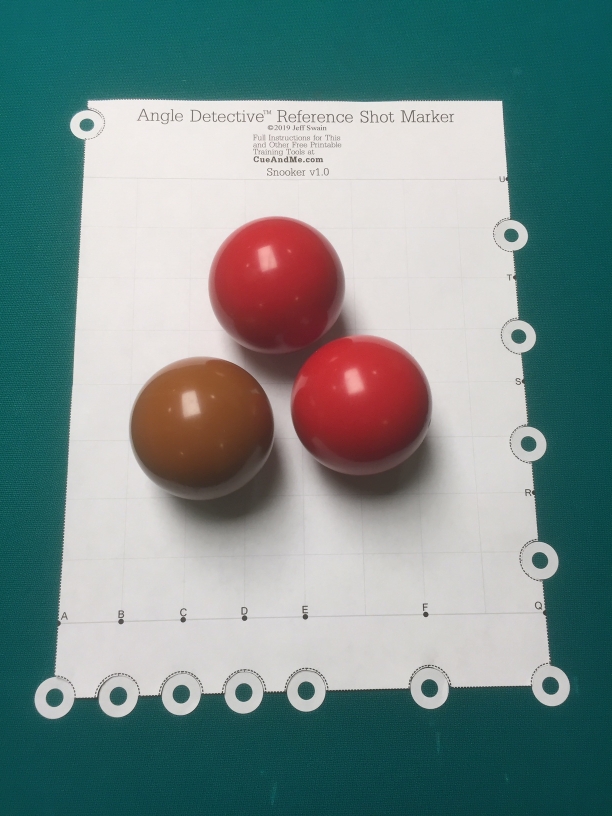
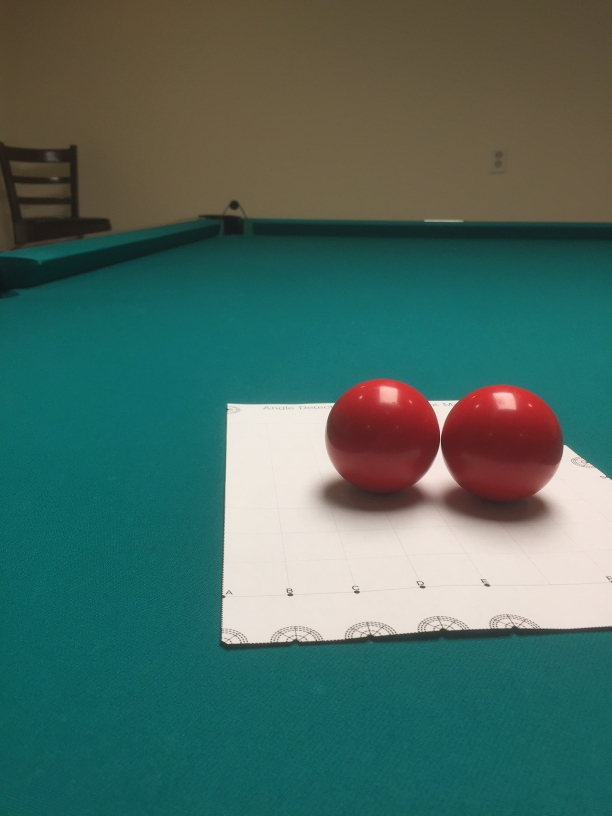
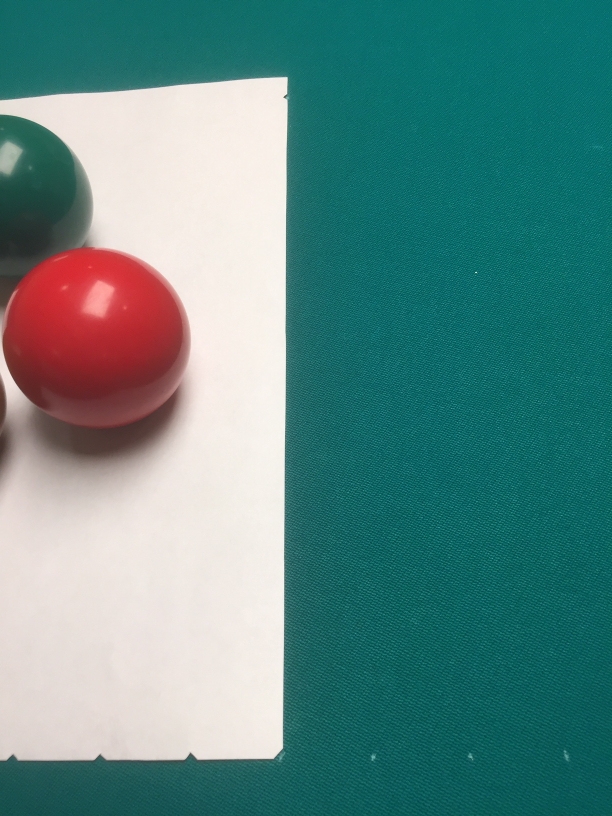
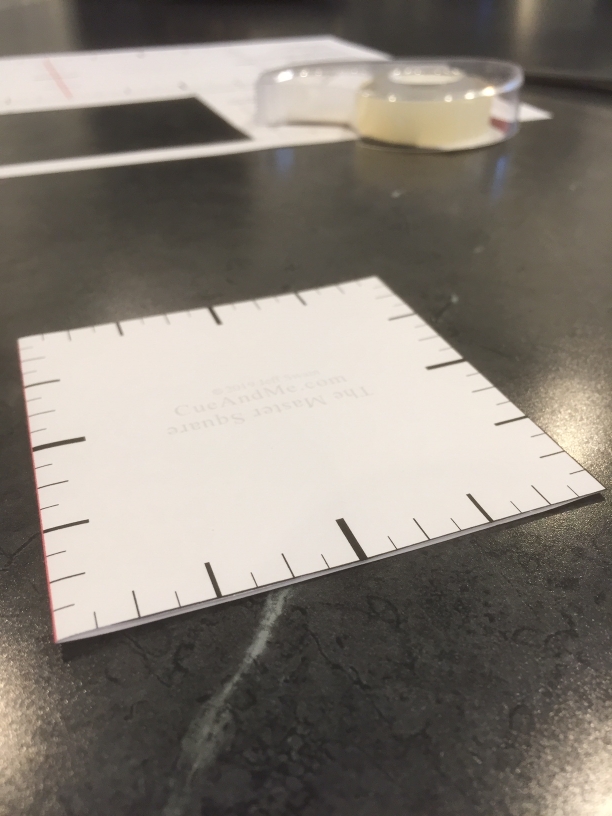
  • The third option is to not mark the table at all but to practice shooting directly atop the tool itself. For this use, the printout should remain uncut. Reinforcement labels can be placed on the LPOs to hold the object ball and reference cue balls. Other object balls can be placed on unused LPOs or elsewhere on the sheet of paper as paperweights to keep the tool in place while shooting and/or the paper can be temporarily taped onto the cloth. Printing on heavier weight paper is desirable if using the tool in this fashion.

Instructions for all 3 options are given below.

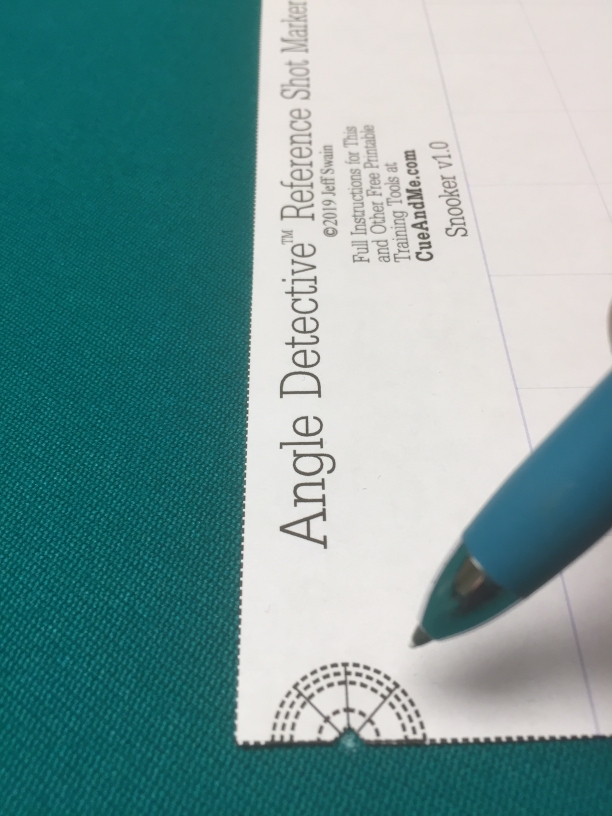
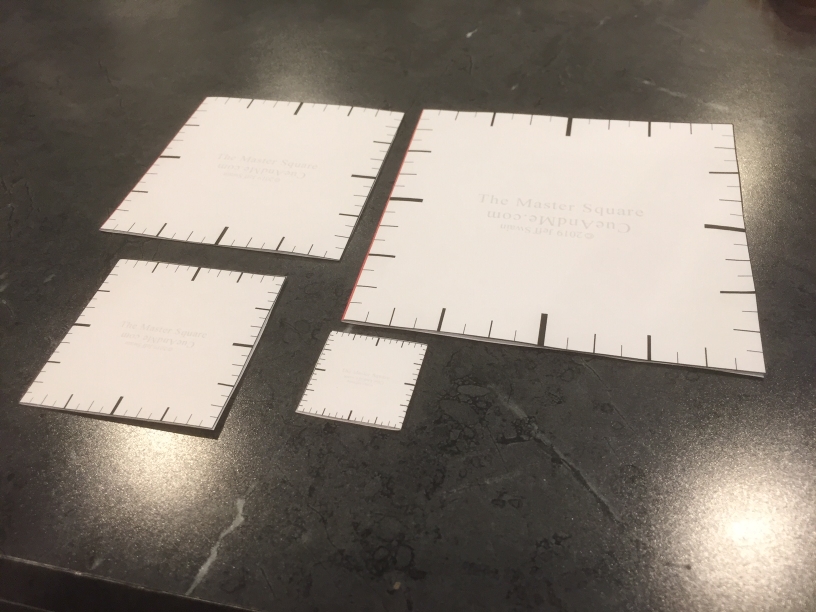
Important: When printing the Reference Shot Marker tool be sure to print at “actual size.” Printing at any other setting will throw off the internal proportions and measurements and can lead to practicing the wrong angles! Also be sure to use only the tool designed for the balls with which you are practicing—snooker or pool. And finally, if you don’t own the table, check that the table owner allows marking or using tape on the table.

Marking the Table with Adhesive Reinforcement Labels

Carefully center and place adhesive reinforcement labels on the LPOs.  

With scissors or a hobby knife cut out the inner section of the page along the dotted line. You will be cutting through the reinforcement labels as you do.

Carefully cut around the remaining portions of the reinforcement labels. This will leave semicircular cutouts around the edge of the tool.

Place a reinforcement label on the cloth where you want the object ball to rest for repeated practice.

The semicircular cutout at the top of the tool is designed to accept the object ball’s reinforcement label. Carefully place this cutout over the object ball label while also lining up the tool’s near edge to the center of the pocket. Once aligned, place two or three balls on the paper to keep it in place while marking the cue ball reference positions. 

Mark the cloth with reinforcement labels at all references you wish to practice, fitting them carefully in the semicircular cutouts.

Remove the tool. The table is now marked accurately for object ball and cue ball reference resting positions and is ready for repeated precision practice.

Place the object ball on the object ball label and the cue ball on or between any of the cue ball labels and shoot with the knowledge that the shot you are practicing has been measured accurately.

You can also flip over the Reference Shot Marker tool and use the existing object ball and ‘A’ reference labels as guides to mark all reference shots for cut shots in the other direction.

Marking the Table with Chalk, Powder, or Erasable Marking Pencil

Cut out the inner section of the page along the dotted line. Carefully notch out the center diamond of each LPO with scissors or a hobby knife.

Place the Marker Tool on the table so that the near side lines up  with the center of the pocket.

Place two or three balls on the tool to hold it in place while you mark the object ball and reference shot positions.

Mark the table at the object ball position and at all reference cue ball positions that you’d like to practice.

Remove the paper. The table is now marked accurately for object ball and cue ball reference resting positions and is ready for repeated precision practice.

Center the object ball on the object ball mark and the cue ball on or between any of the cue ball reference marks and shoot with the knowledge that the shot you are practicing has been measured accurately.

You can also flip over the Reference Shot Marker tool and use the existing object ball and ‘A’ reference table marks as guides to mark all reference shots for cut shots in the other direction.

Using the Tool Without Marking the Table

Center and place adhesive reinforcement labels on all LPOs. Place the tool on the table lining up the near edge dotted line with the center of the pocket. Place an object ball on the label at the object ball location. Place the cue ball on or between any of the other labels for precision practice.

You can also choose to simply use the LPO markings on the tool as guides for ball placement without applying reinforcement labels.

Other balls can be placed out of the way elsewhere on the paper as paperweights to hold the tool in place while shooting. You can also temporarily tape the tool to the cloth to help keep it from moving out of position.